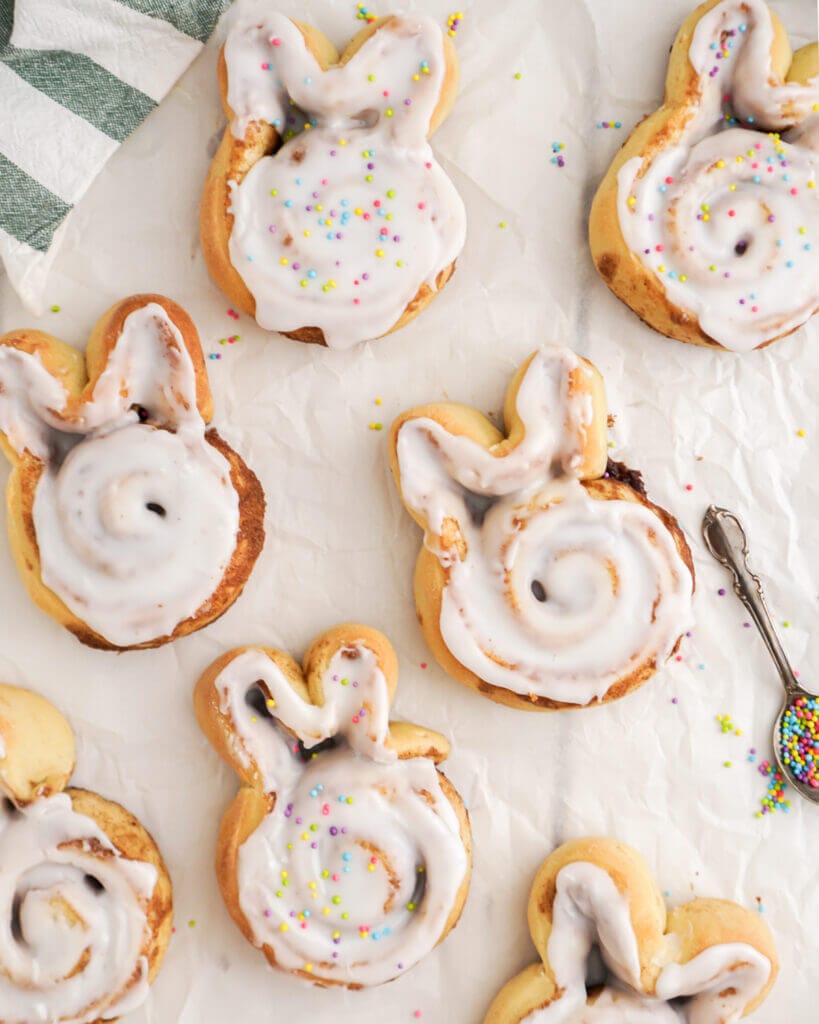
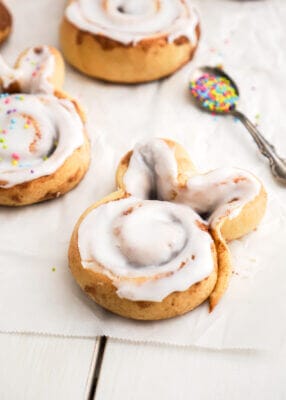
Spring is just around the corner and Easter is one of my favourite holidays for baking! If you’re searching for a fun new Easter recipe, look no further, these cinnamon roll bunnies are just what you and the kids need! They’re the perfect blend of sweetness, cinnamon spice, with an almond glaze to top it off!
And the best part? They’re not just adorable; but these Easter bunnies can be prepped the night before, allowing you to enjoy the festivities without stress. This recipe is similar to the classic cinnamon roll recipe but each roll is shaped into cute little bunnies. It’s a fun way to add a festive touch to your Easter breakfast or brunch spread this holiday. See below on how to prep your cinnamon roll bunnies the night before.
Ingredients
What ingredients make a great cinnamon roll? Undoubtedly the warm cinnamon paired with brown sugar, creamy butter. Then creating a fluffy dough with a soft texture. Cinnamon adds a fragrant and comforting aroma that pairs with a rich, caramel-like brown sugar. The butter lends richness and moisture to the dough creating a soft texture. I buy my sugar, ground cinnamon and all my dry ingredients at my local Bulk Barn store. The best part is when you buy in bulk you can buy as little or as much as you like.
- Active dry yeast
- Full milk (whole milk)
- Granulated sugar
- Unsalted butter
- Eggs
- All-purpose flour
- Light brown sugar
- Icing sugar
- Almond extract
- Ground cinnamon
- Ground nutmeg
- Salt
Variation
Change up the almond glaze for something a little less sweet like my favourite, cream cheese icing.
Cream Cheese Icing
- 1/4 cup (2 ounces) cream cheese, at room temperature
- 2 Tablespoons unsalted butter, at room temperature
- 1 cup powdered sugar
- 2 teaspoons milk
- 1/4 teaspoon vanilla extract
Beat cream cheese and butter together. Add icing sugar. Beat in milk and vanilla extract. Add more milk or icing sugar to reach your desired consistency. Then top icing onto cinnamon roll bunnies.
How to Prepare Cinnamon Roll Bunnies the Night Before
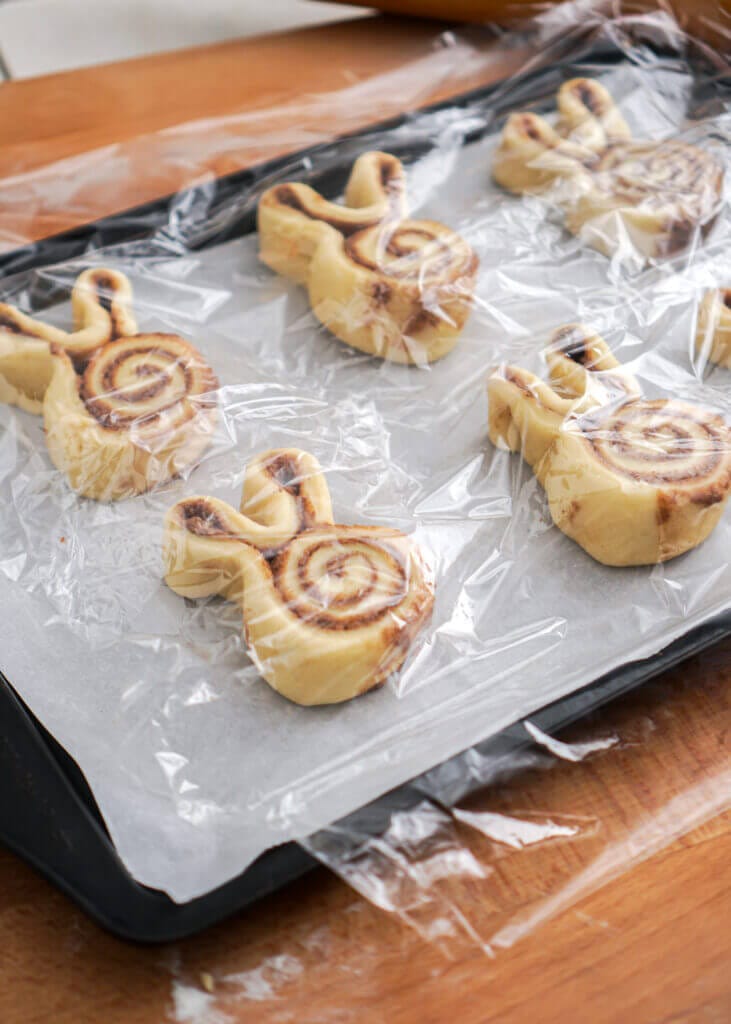
You can easily do the work the night before and then bake fresh hot out of the oven bunnies for Easter morning. To prepare the cinnamon roll bunnies you can make the dough, shape the rolls into bunnies, and then follow these steps:
- After shaping the rolls into bunnies, place them on a baking tray lined with parchment paper.
- Cover the baking tray with plastic wrap and place it in the fridge overnight.
- In the morning, remove the baking tray from the fridge and let the bunny rolls sit at room temperature for about 30 minutes while you preheat the oven to 350°F.
- Bake the cinnamon roll bunnies according to the recipe instructions until they are golden brown and baked through. Continue to follow the recipe instructions.
- Serve the freshly baked cinnamon roll bunnies warm and enjoy!
Tips For The Perfect Cinnamon Roll Bunnies
- Properly proof the yeast: Make sure the yeast is properly proofed in warm water with a little sugar. Sugar helps activate the yeast. The water should be around 110°F to activate the yeast effectively. If the water is too hot it may kill the yeast and if it’s too cold it will take a very long time to activate.
- Dough consistency: Pay attention to the consistency of the dough throughout the mixing and kneading process. The cinnamon roll dough should be soft, slightly sticky, and elastic. When poked with your finger the dough should slightly spring back when it’s ready.
- Adding extra flour: Avoid adding too much flour, as it can result in dense, tough rolls.
- Maintain consistent thickness: Aim to roll out the dough into a uniform thickness to ensure that all parts of the cinnamon roll bunnies bake evenly. Avoid rolling the dough too thin, as it can result in overly crispy dough.
- Pinch the rolls tightly: When shaping the roll into a bunny face, ensure that you pinch the dough tightly together, especially at the base of the bunny ears. This helps prevent the ears from separating during baking and ensures that the bunnies maintain their adorable shape.
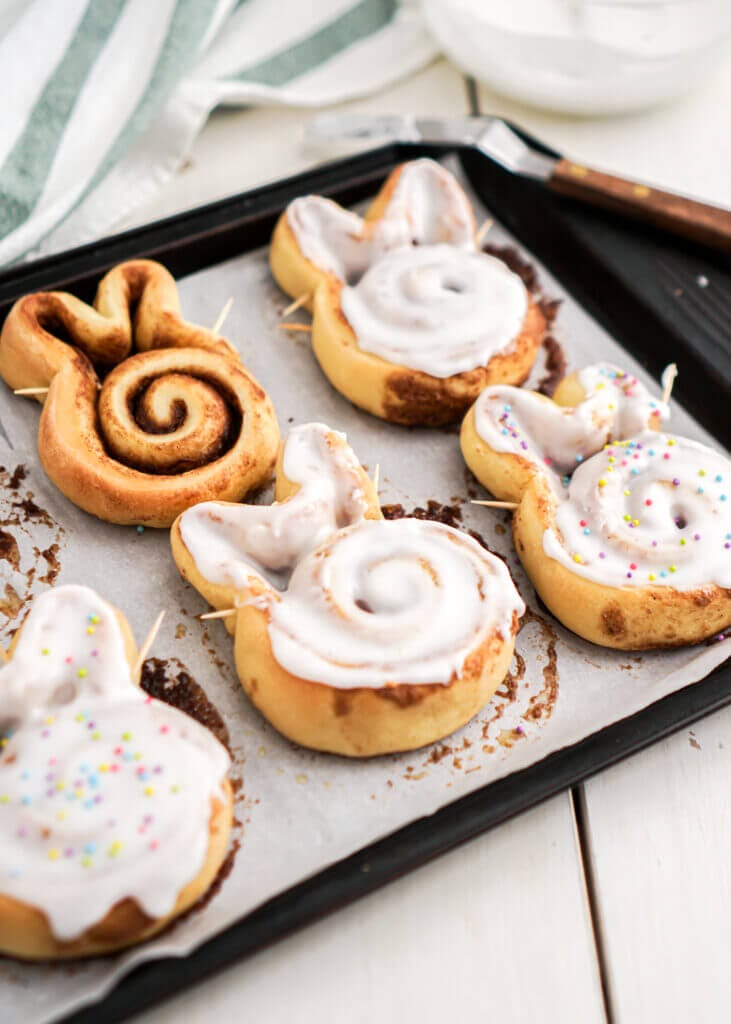
- Secure bunny ears with toothpicks: If the bunny ears start to separate from the rolls during baking, gently insert toothpicks into the base of the ears to help hold them in place.
How To Make Easter Bunny Cinnamon Rolls
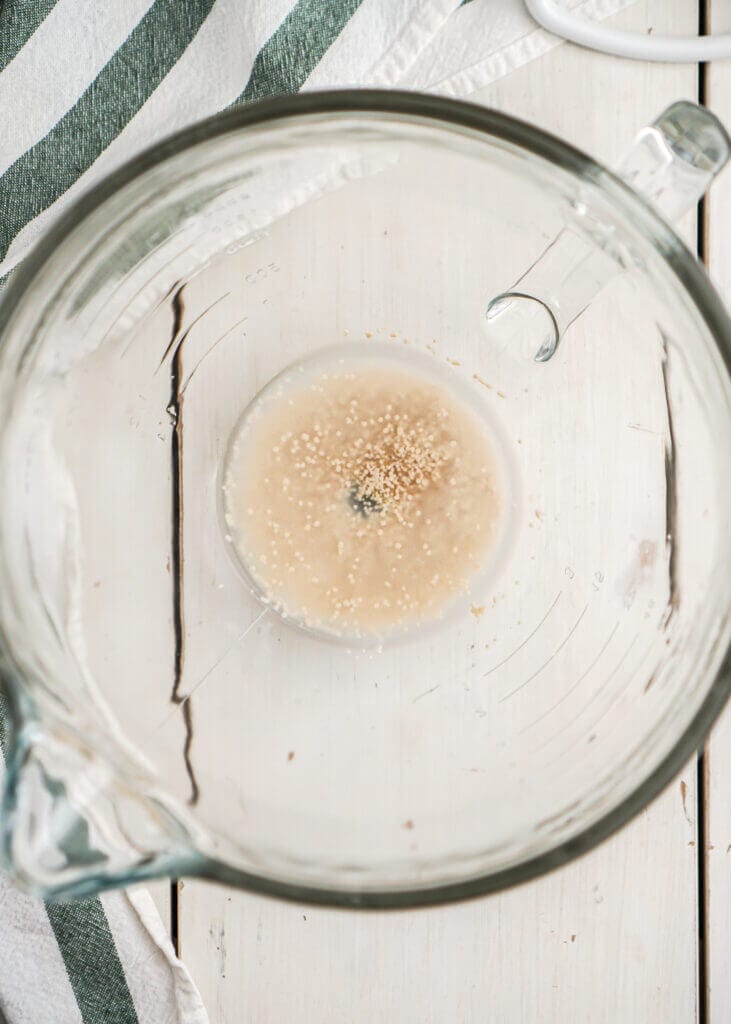
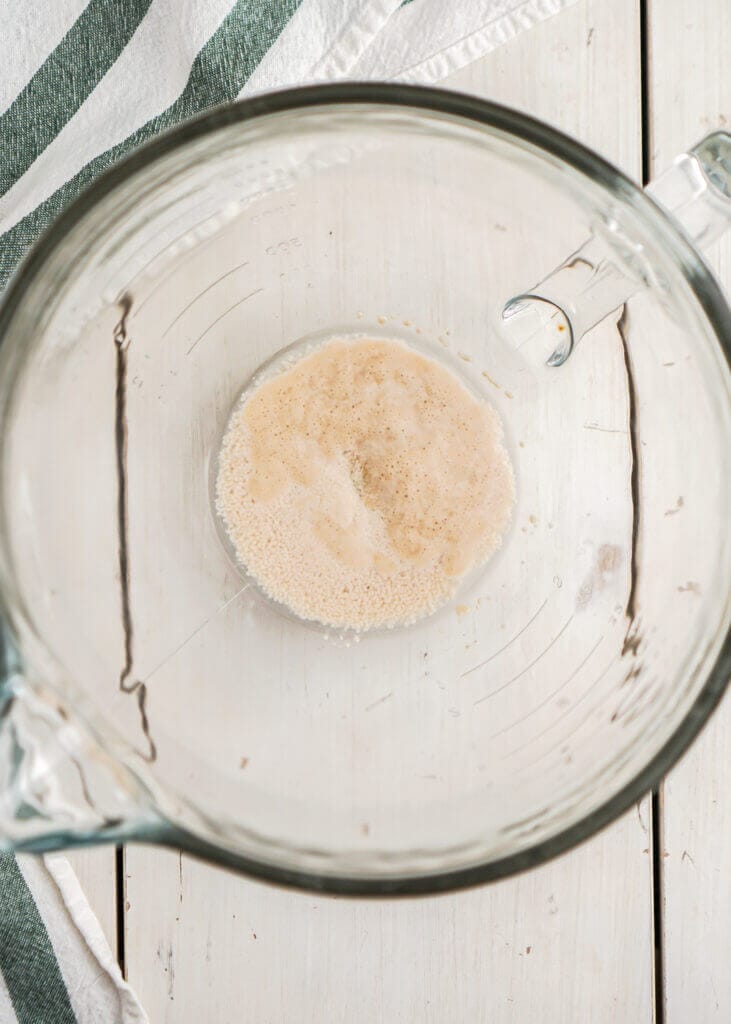
Step One: Bloom yeast in a large mixing bowl of a stand mixer, add warm water (approx. 110°F), yeast and the 2 teaspoons of the sugar. Let rest until the mixture is bubbly and frothy.
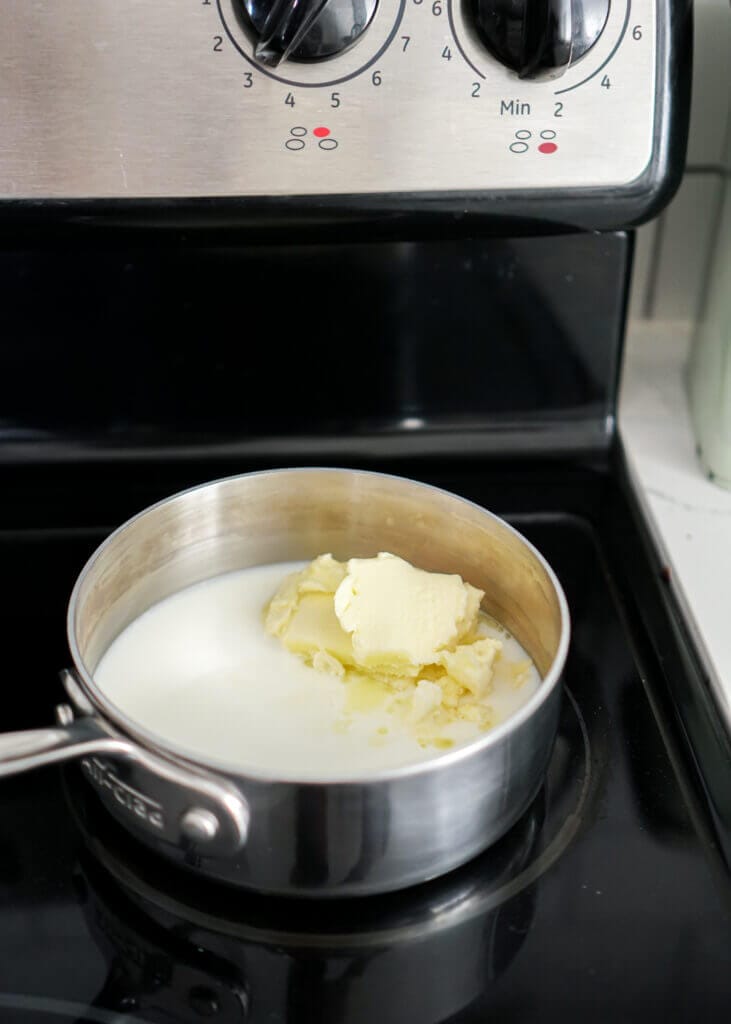
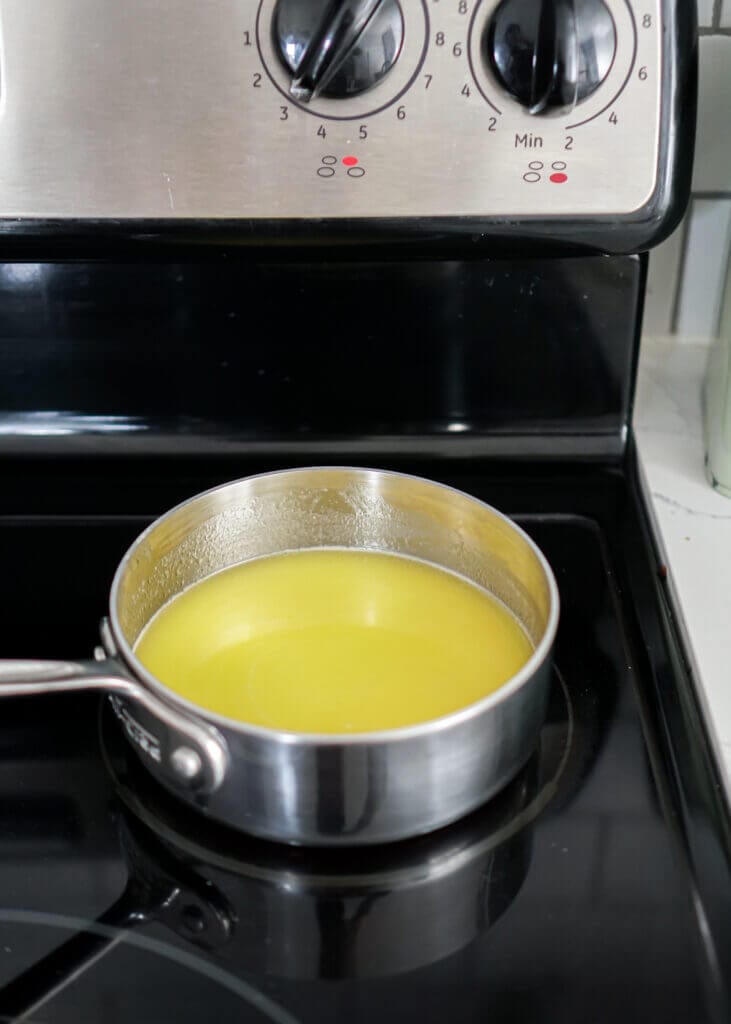
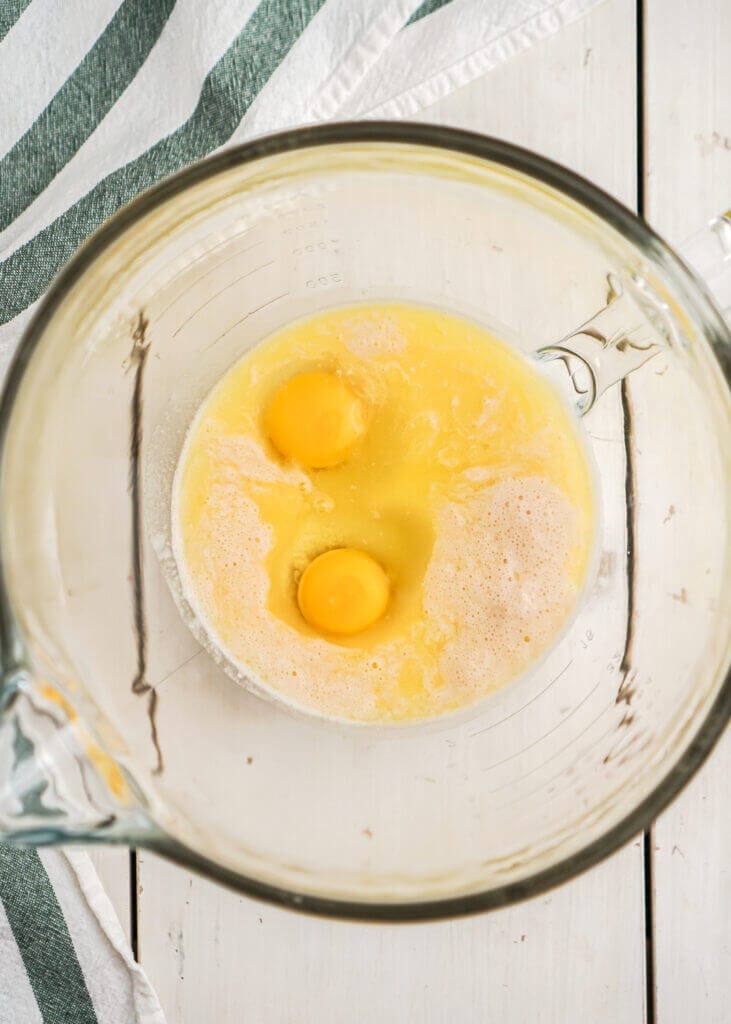
Step Two: In a small saucepan on low heat, add milk, remaining sugar, butter and salt. Cook until the sugar has dissolved and the butter is melted. Turn off the heat and let cool. Add the milk mixture and eggs to the yeast mixture and mix to incorporate.
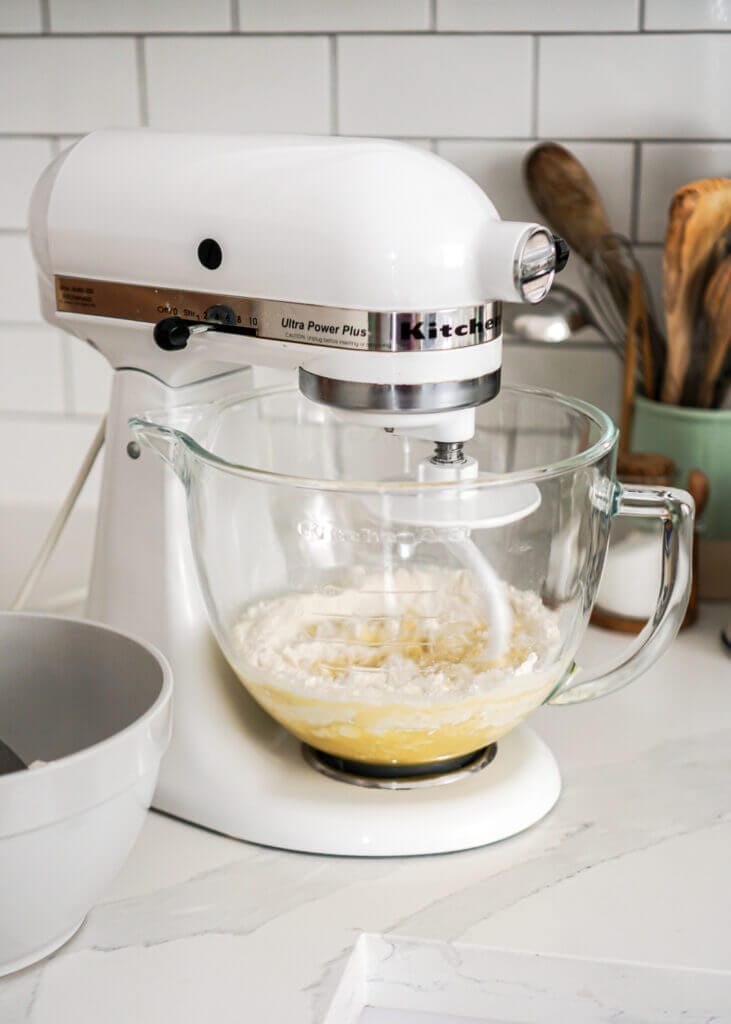
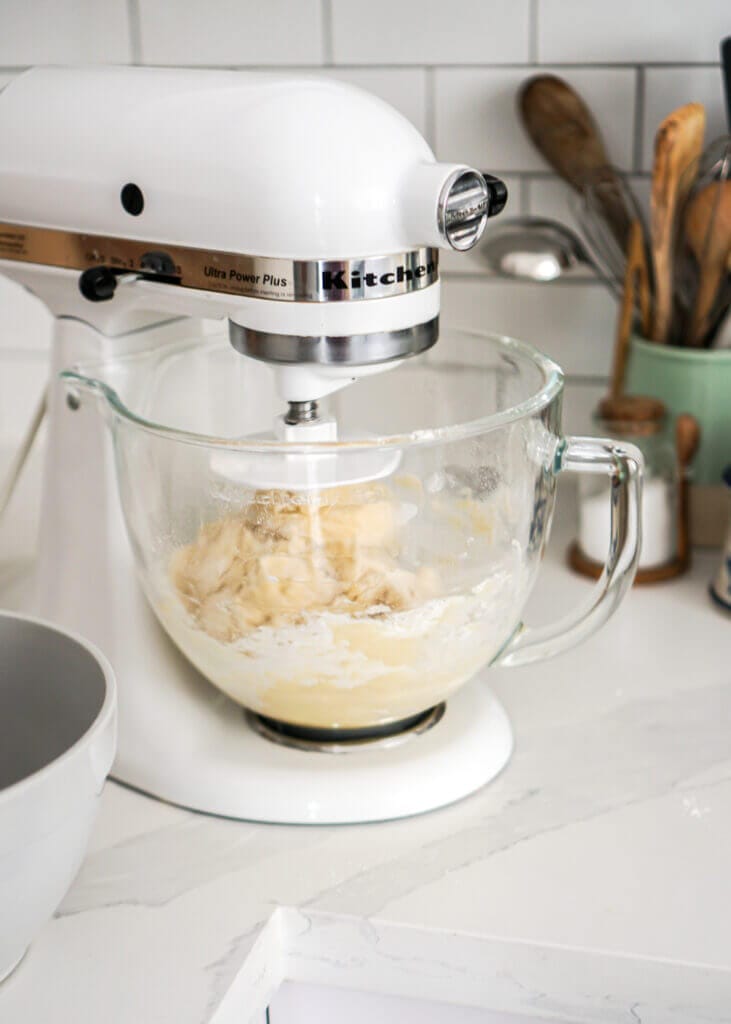
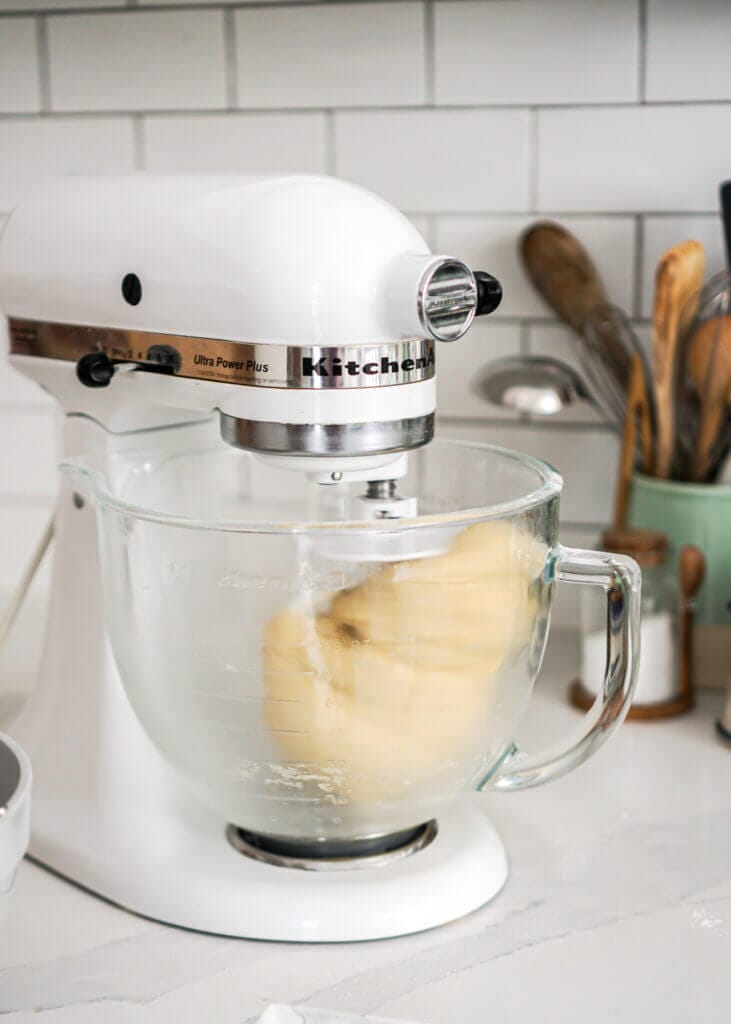
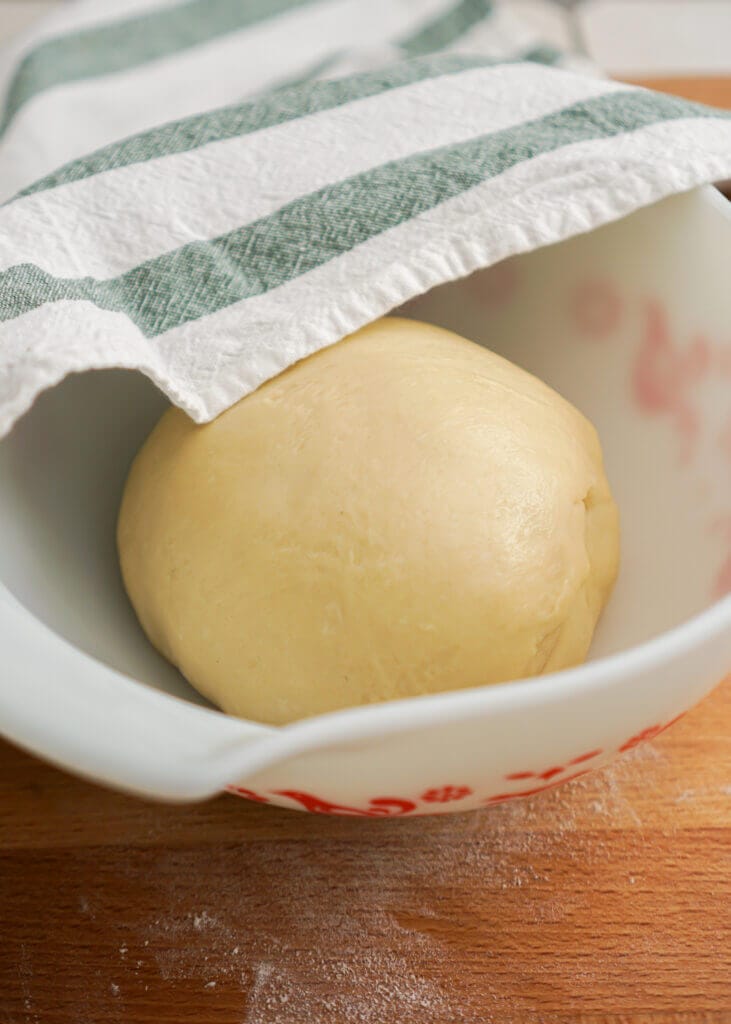
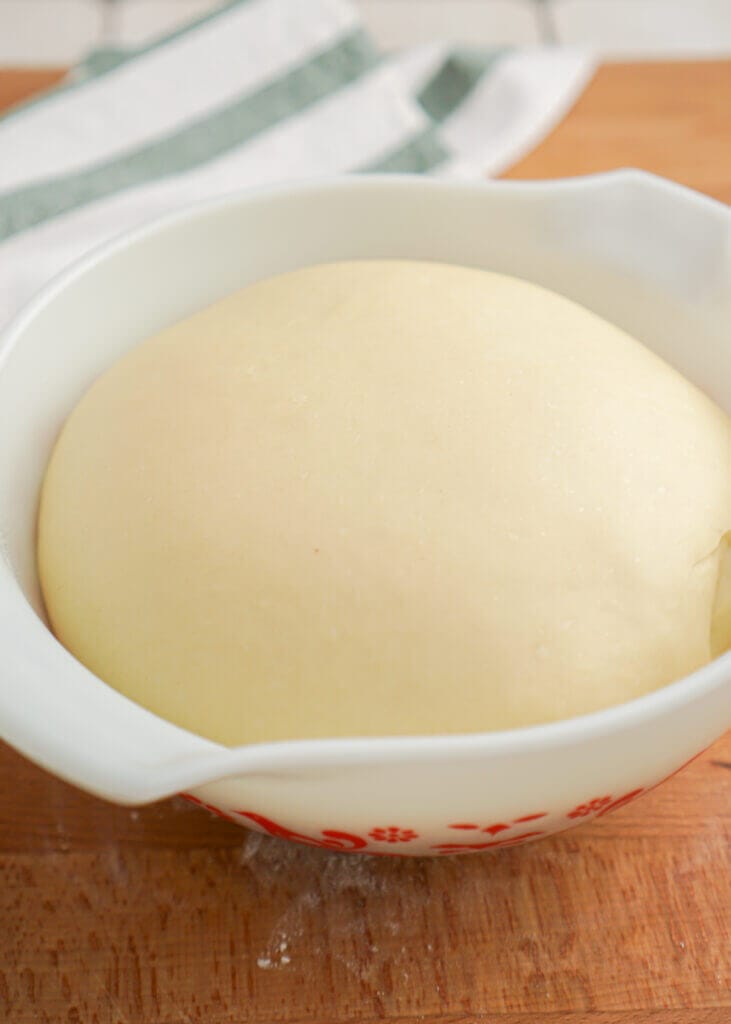
Step Three: Add flour to the yeast mixture. Use the dough hook on your stand mixer and mix on medium speed for approx. 6 minutes. Mix until the dough is smooth and elastic. Form the dough into a ball and place in a lightly greased, large bowl. Cover with plastic wrap and let rest until doubled in size.
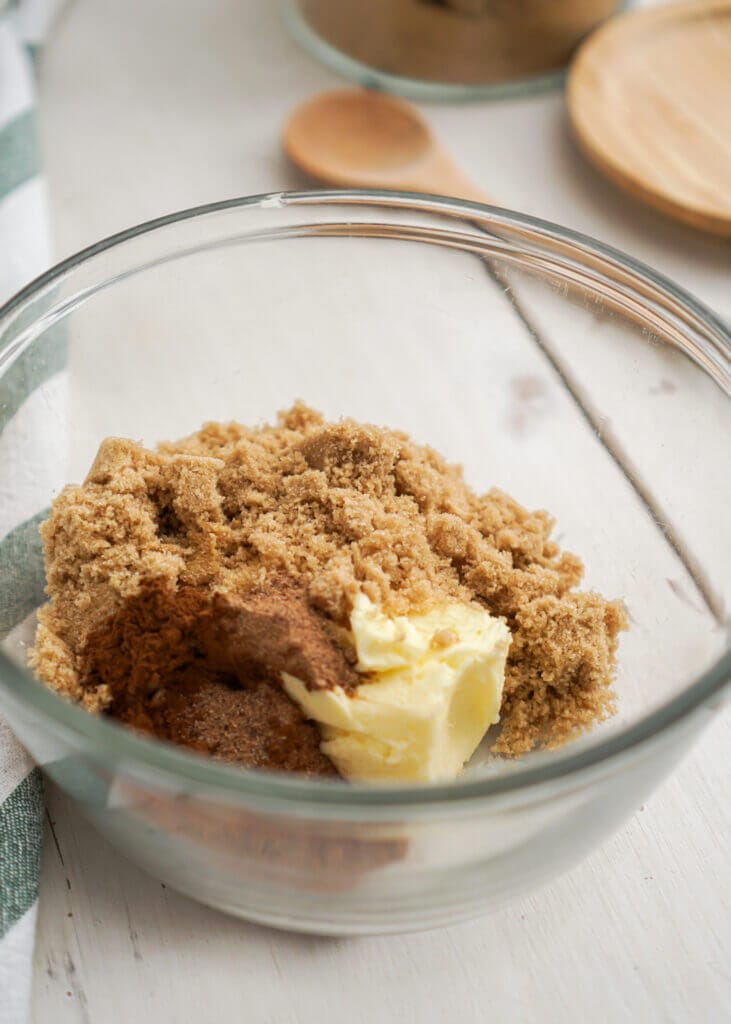
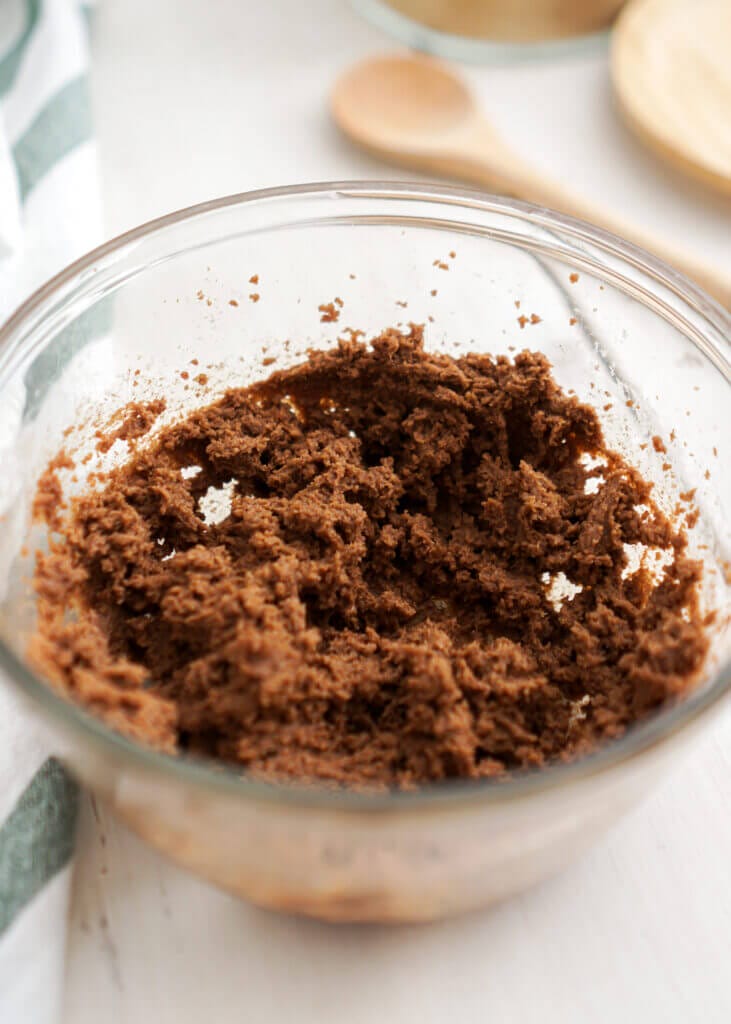
Step Four: In a small bowl mix together brown sugar, butter, cinnamon, and nutmeg. Mix until well incorporated and you have a smooth, sugary paste.
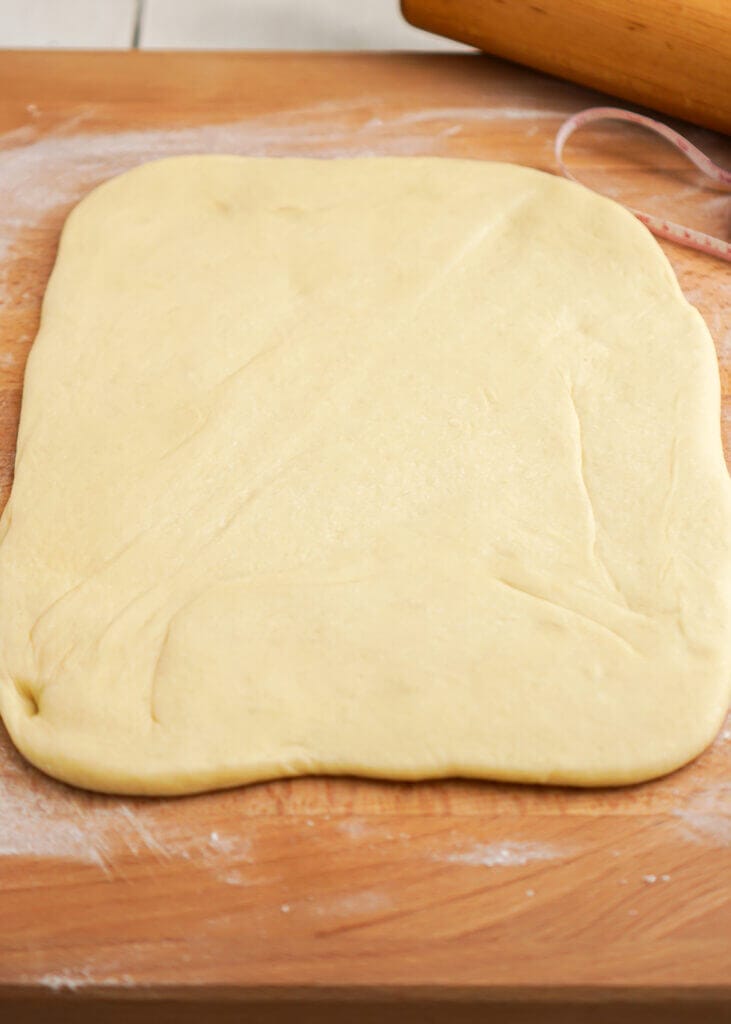
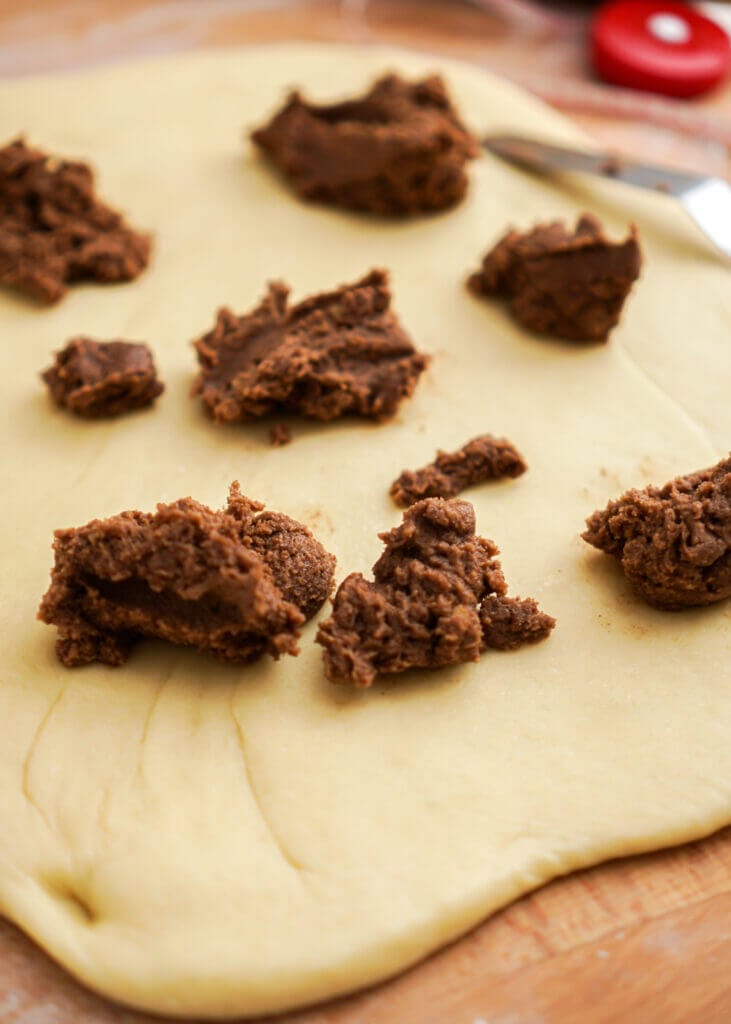
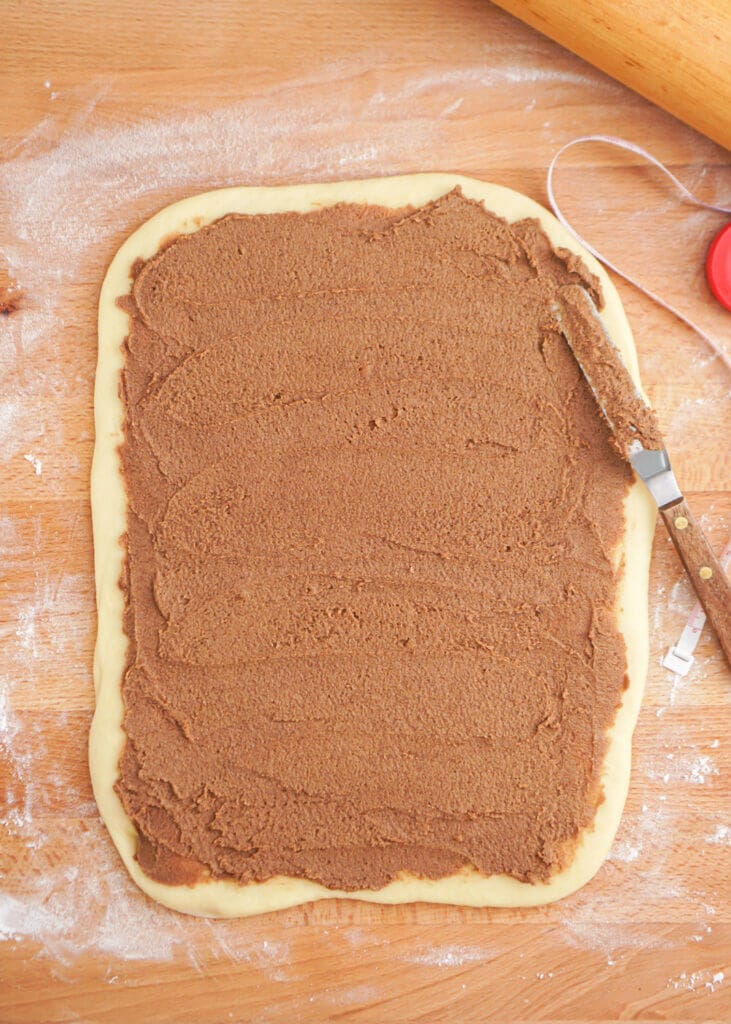
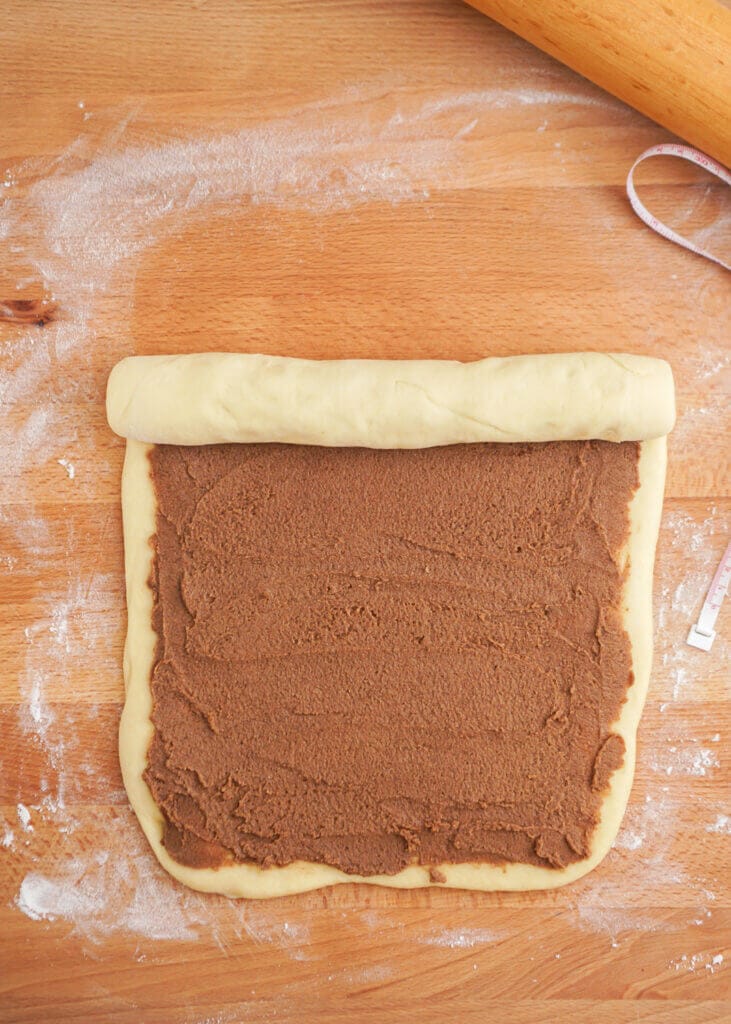
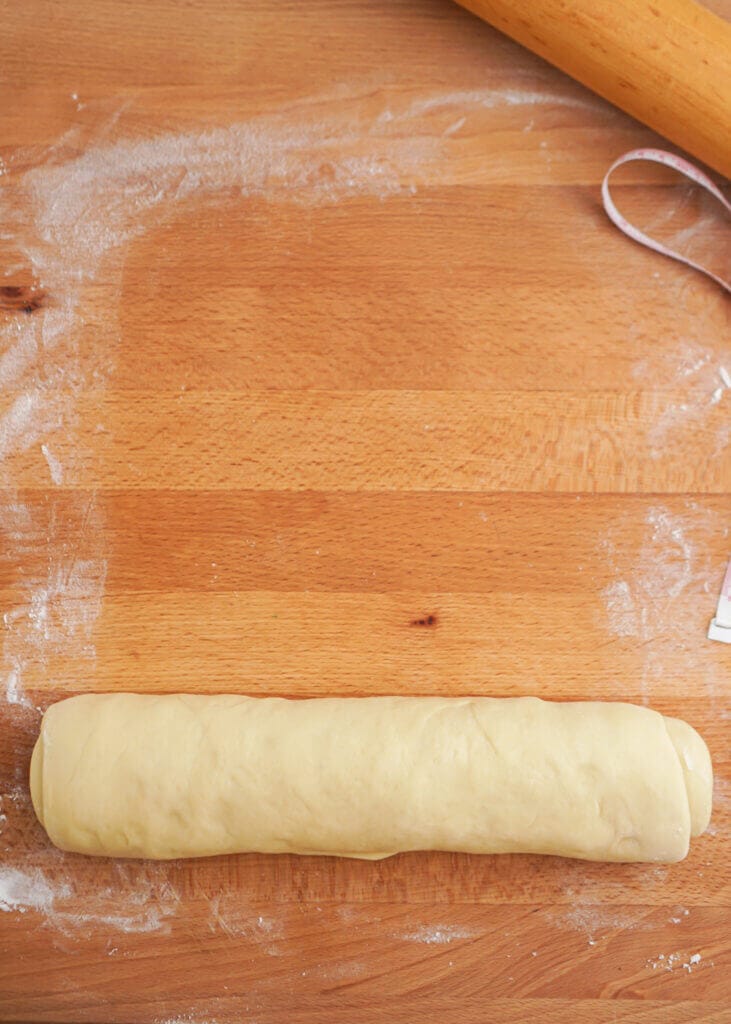
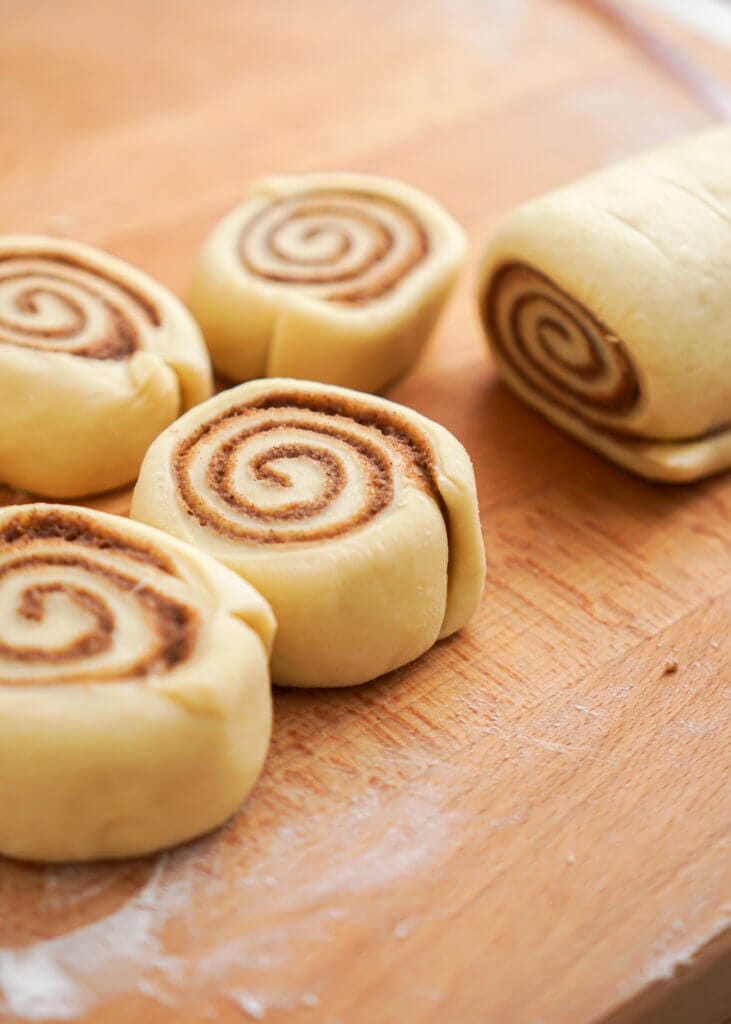
Step Five: Once the dough is doubled in size, punch the dough down. Place on a lightly floured work surface and roll into a large rectangle approx. 12 inches x 9 inches. Cover the rectangle with the cinnamon butter mixture, leaving approx. ½ inch from the edges. Starting at the short side of the rectangle (9 inch side) tightly roll into a log. Using a serrated knife (or clean unflavoured dental floss ) slice rolls approximately 1 inch thick.
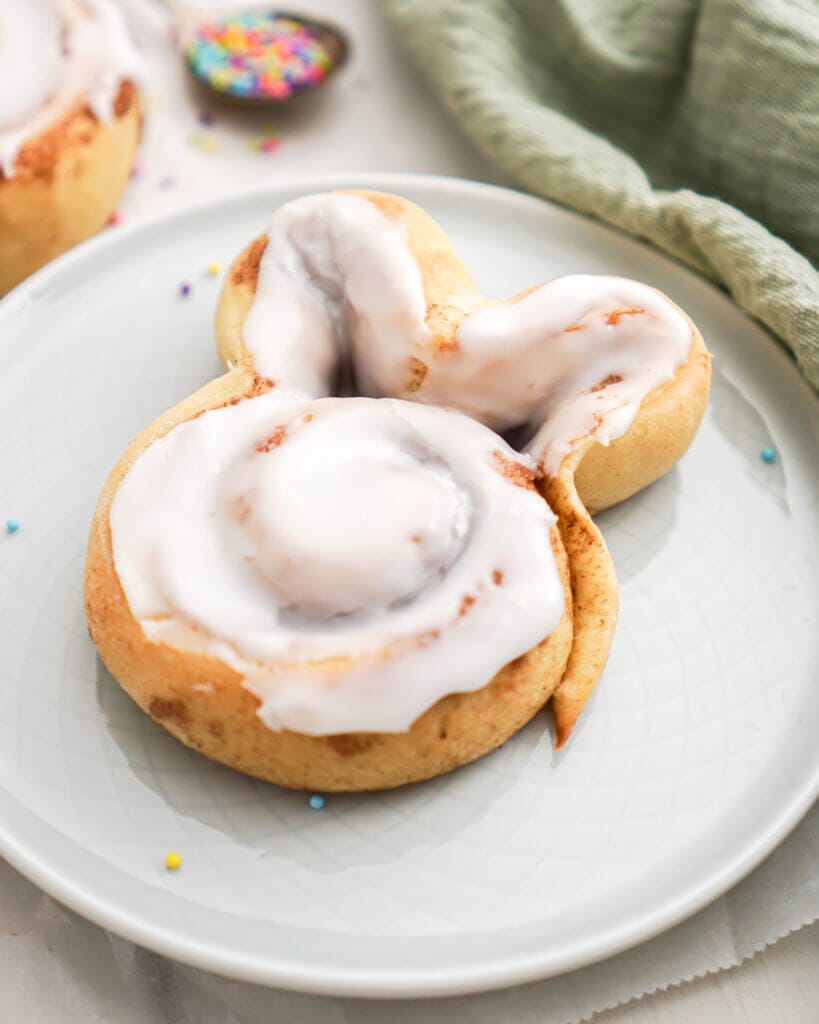
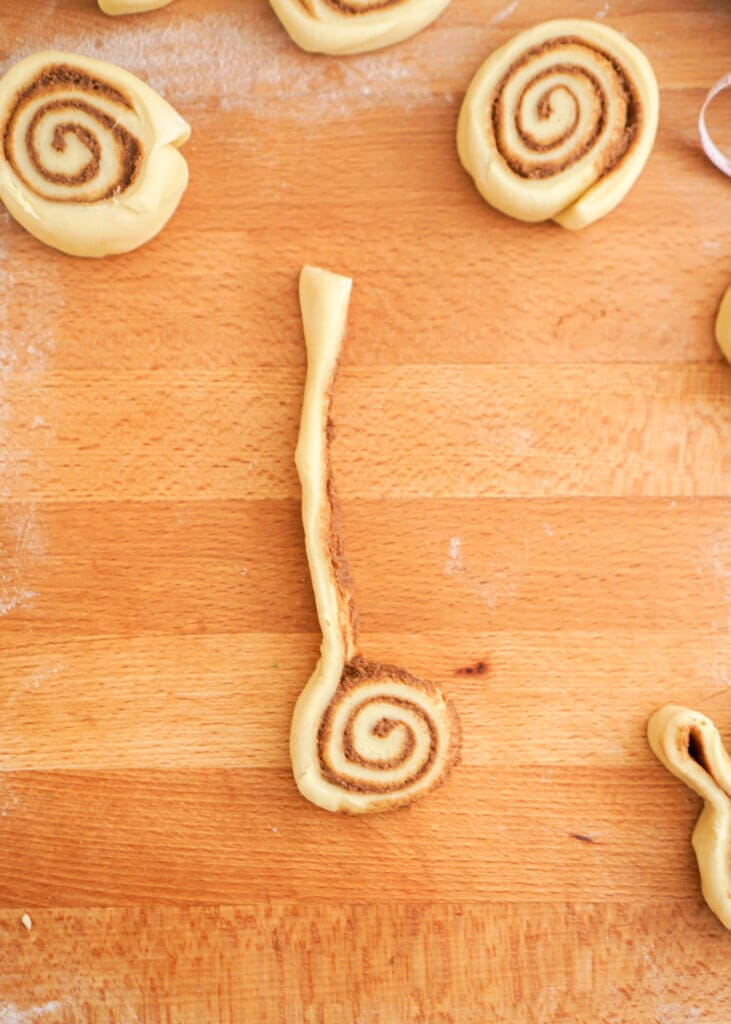
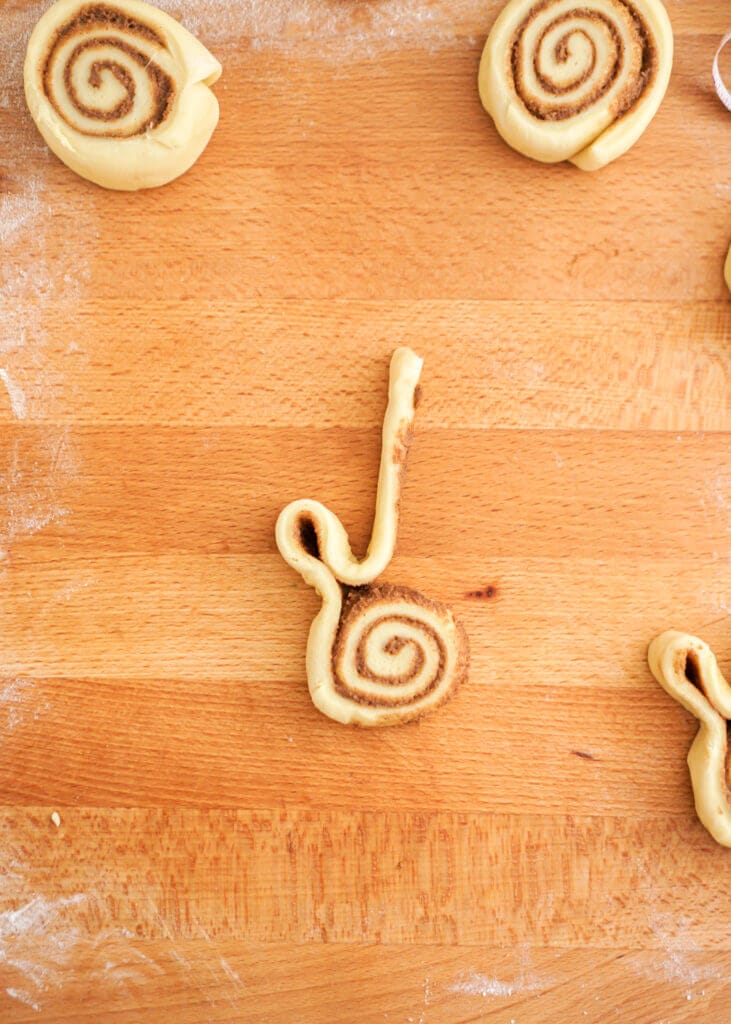
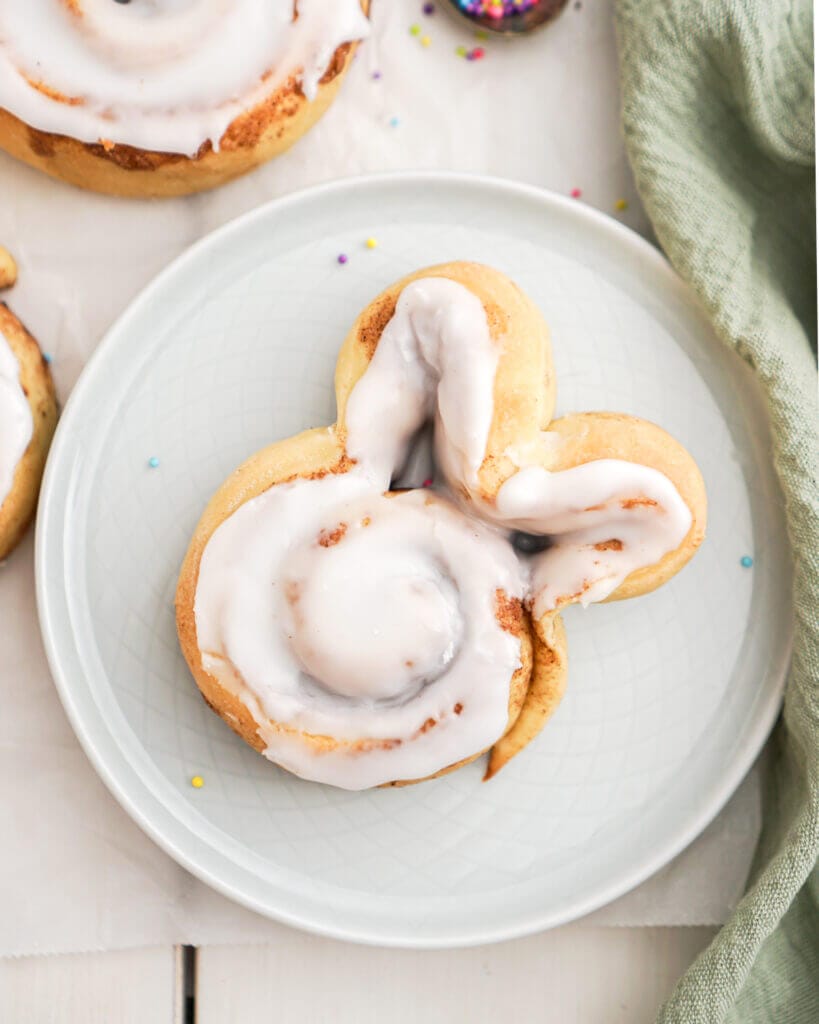
Step Six: Take one roll and unravel the first layer of the roll. Pull the strip straight out (give a little tug to stretch the dough). Then using half of the strip create a loop for the first bunny ear, then create another loop for the other ear. Shape the loops to look like ears and press/pinch the loose ends down. Transfer the bunny cinnamon roll to the prepared baking sheet and cover with plastic wrap. Repeat until all the rolls look like bunnies.
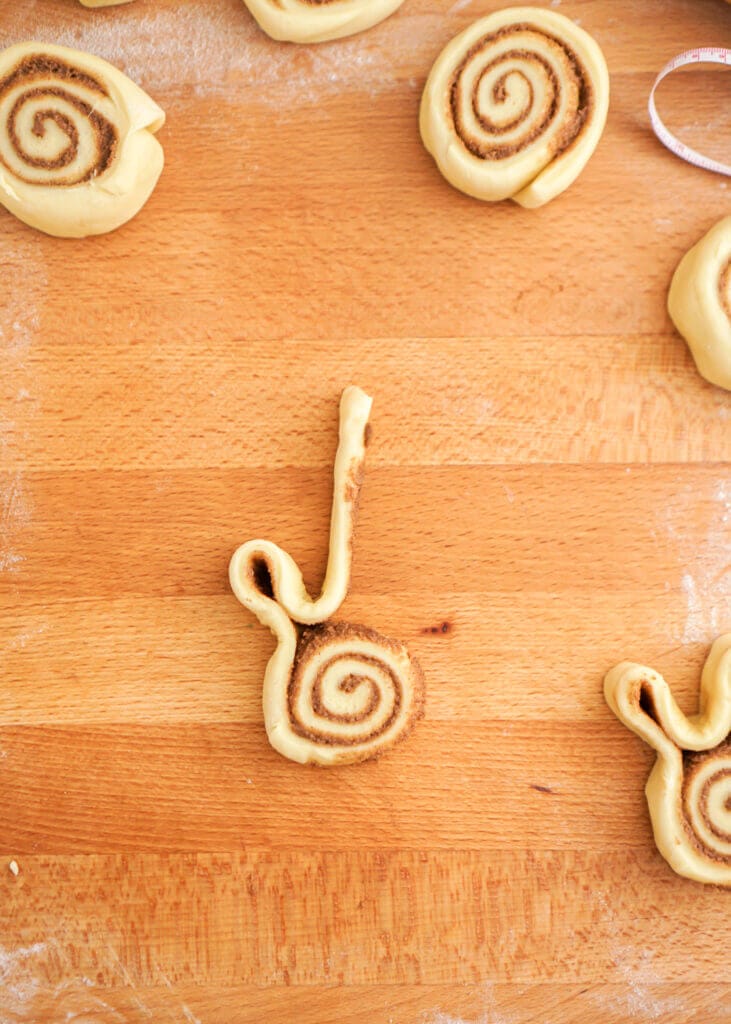
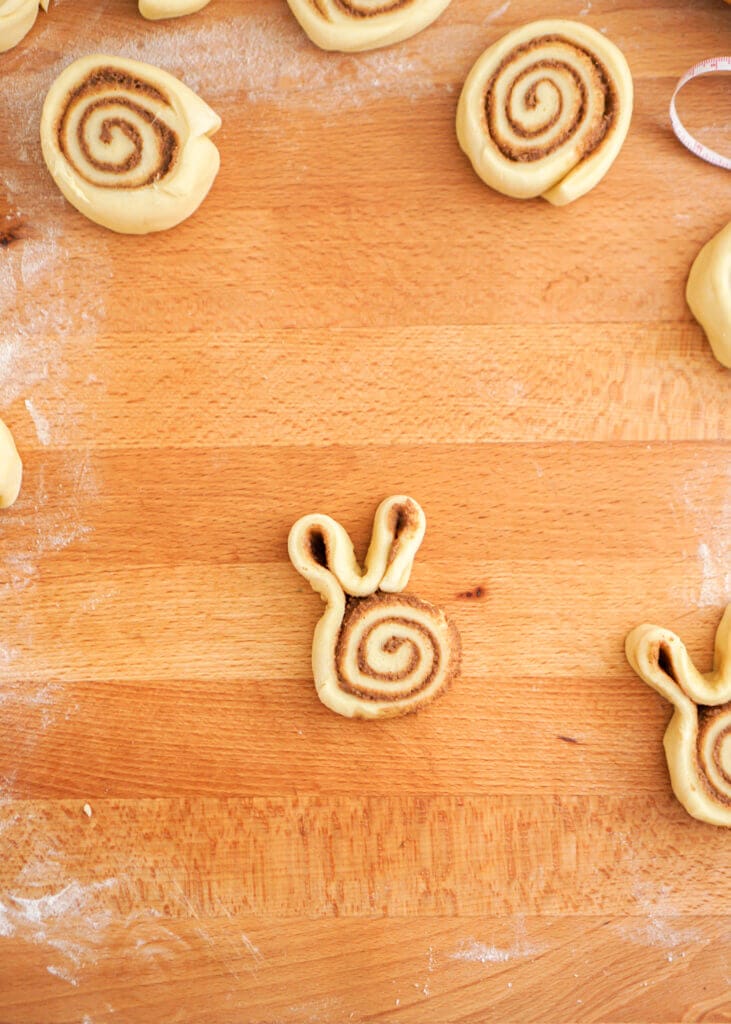
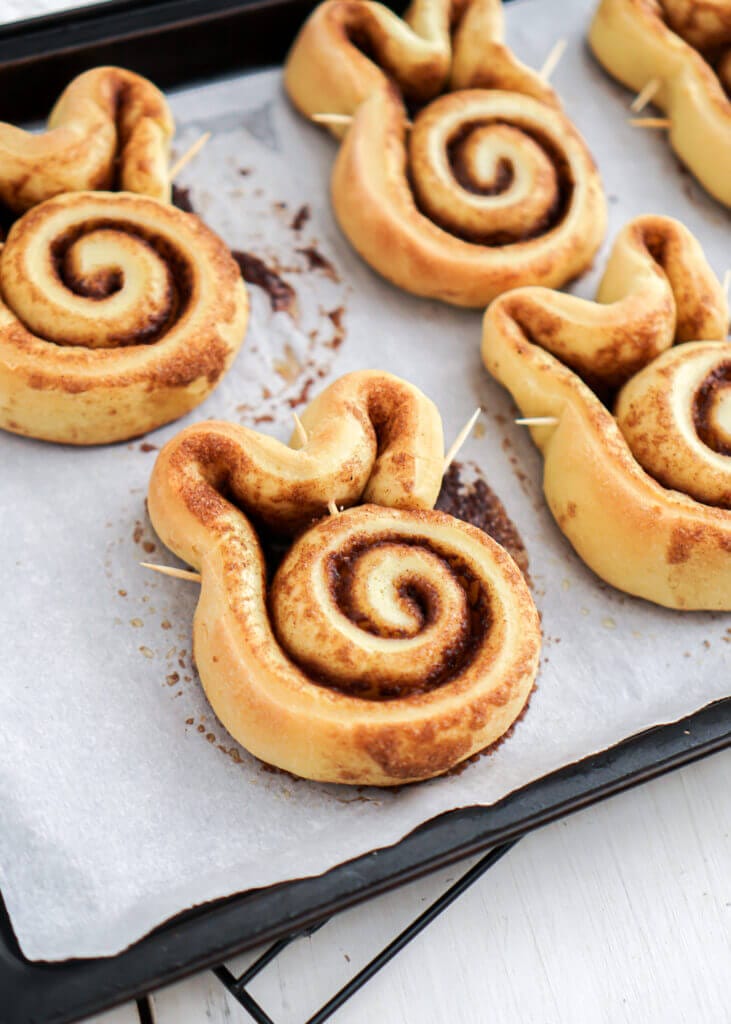
Step Seven: Let the bunny rolls rest for 20-30 minutes. Meanwhile, preheat the oven to 350˚F. Bake for 12-15 minutes or until golden brown. Let the cinnamon roll bunnies cool on the baking sheet on a wire rack. Note: If the bunny ears separate from the roll while baking use toothpicks to attach them to the roll and let them cool with the toothpicks in them. Do this as soon as you remove them from the oven and the bunnies are still hot.
Step Eight: Make your glaze. Add icing sugar, almond extract and 2 Tablespoons warm water to a medium-sized bowl. Using a spoon mix until smooth and well incorporated. Once the bunnies are slightly cool, cover them with the glaze and add festive sprinkles (optional).
Cinnamon Roll Bunnies
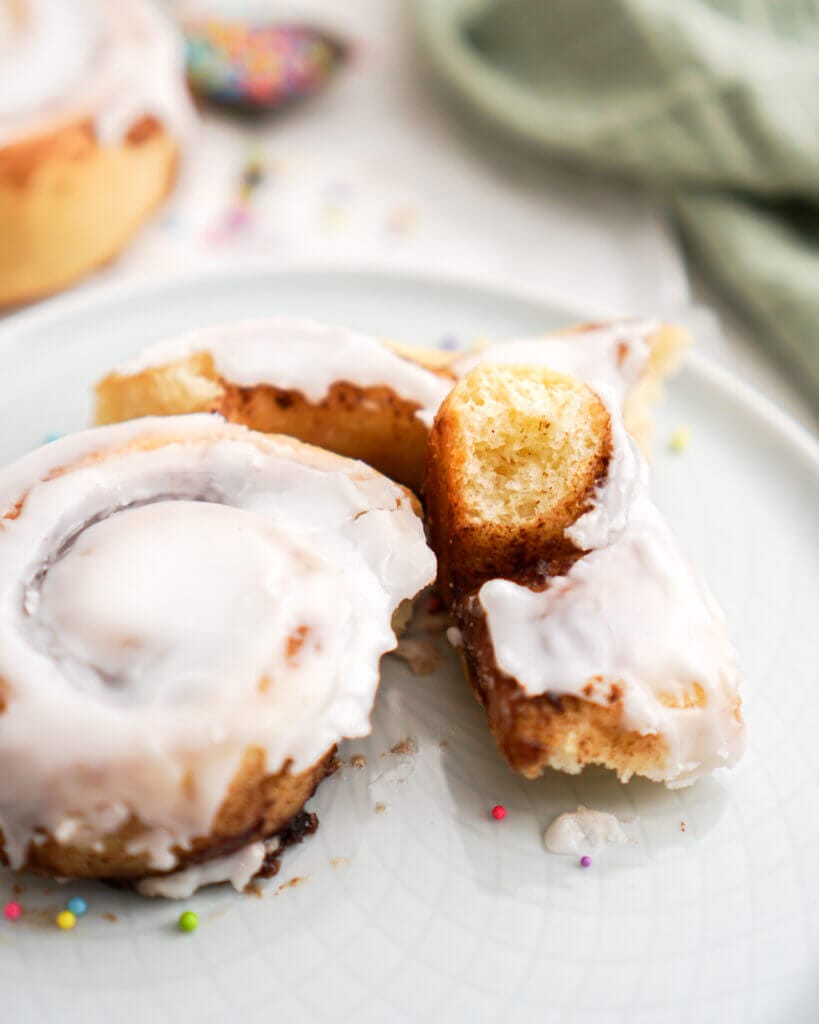
Get ready to hop into the Easter spirit with these homemade cinnamon roll bunnies! These fluffy treats are not only adorable but also irresistibly delicious. They are similar to classic cinnamon rolls that we all know and love but shaped into cute bunnies and topped with an almond glaze. Whether you’re hosting a festive brunch or simply craving a delightful sweet treat, these cinnamon roll bunnies are bound to steal the show with their charm and flavour.
- Prep Time: 3 hours
- Cook Time: 15 minutes
- Total Time: 3 hours 15 minutes
- Yield: 10 1x
- Category: Bread & Yeast
- Method: Baking
- Cuisine: Swedish
Ingredients
- 1 package active dry yeast (2 1/4 teaspoons)
- 1/4 cup warm water (approx. 110°F)
- 1/4 cup granulated sugar, separated (2 teaspoons of sugar)
- 1/2 cup full milk
- 1/3 cup unsalted butter
- 1 teaspoon salt
- 2 eggs, at room temperature
- 3–3 1/2 cups all-purpose flour
Filling
- 3/4 cup light brown sugar, packed
- 1/3 cup unsalted butter, at room temperature
- 1 Tablespoon ground cinnamon
- 1/4 teaspoon ground nutmeg
Glaze
- 2 cups icing sugar, sifted
- 1 teaspoon pure almond extract
- 2 1/2–3 Tablespoons warm water
- colour sprinkles, optional
Instructions
- In a large mixing bowl of a stand mixer add warm water (approx. 110°F), yeast and the 2 teaspoons of the sugar. Let rest approx. 8-10 minutes, or until the mixture bubbles and is frothy.
- Meanwhile, in a small saucepan on low heat, add milk, remaining sugar, butter and salt together. Cook until the sugar has dissolved and the butter is melted. Turn off the heat and let cool until lukewarm.
- Add the milk mixture and eggs to your yeast mixture and mix to incorporate.
- Add 3 cups of the flour to your yeast mixture. Use the dough hook on your stand mixer and mix on medium speed for 6-8 minutes, scraping down the bowl every so often (add the extra 1/2 cup of flour as needed). Mix until the dough is smooth and elastic. The dough should be soft, slightly sticky and should come together and pull away from the sides of the bowl (you can also knead by hand if you like).
- Form the dough into a ball and place in a lightly greased (oiled) large bowl, cover with plastic wrap and let rest until doubled in size, approx. 1–1½ hours.
- Meanwhile, prep your filling. In a small bowl mix together brown sugar, butter, cinnamon, and nutmeg. Mix until well incorporated and you have a smooth, sugary paste. Set aside.
- Once the dough is doubled in size, punch the dough down. Place on a lightly floured work surface and shape and roll into a large rectangle approx. 12 inches x 9 inches.
- Cover the entire rectangle with the cinnamon butter mixture, leaving approx. ½ inch from the edges.
- Starting at the short side of the rectangle (9 inch side) tightly roll into a log. Using a serrated knife (or clean unflavoured dental floss ) cut rolls approximately 1 inch thick.
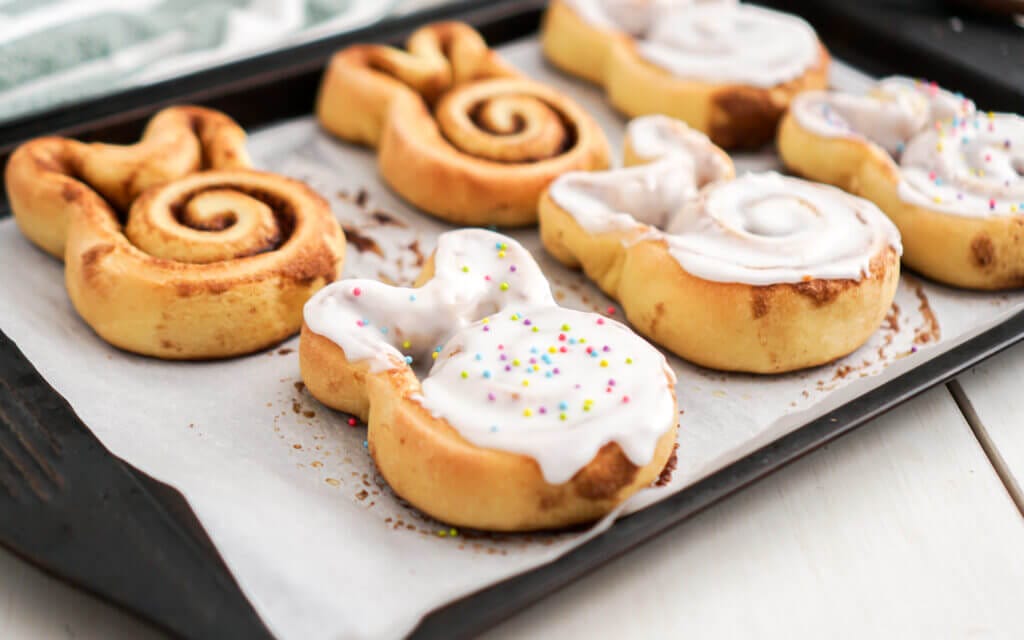
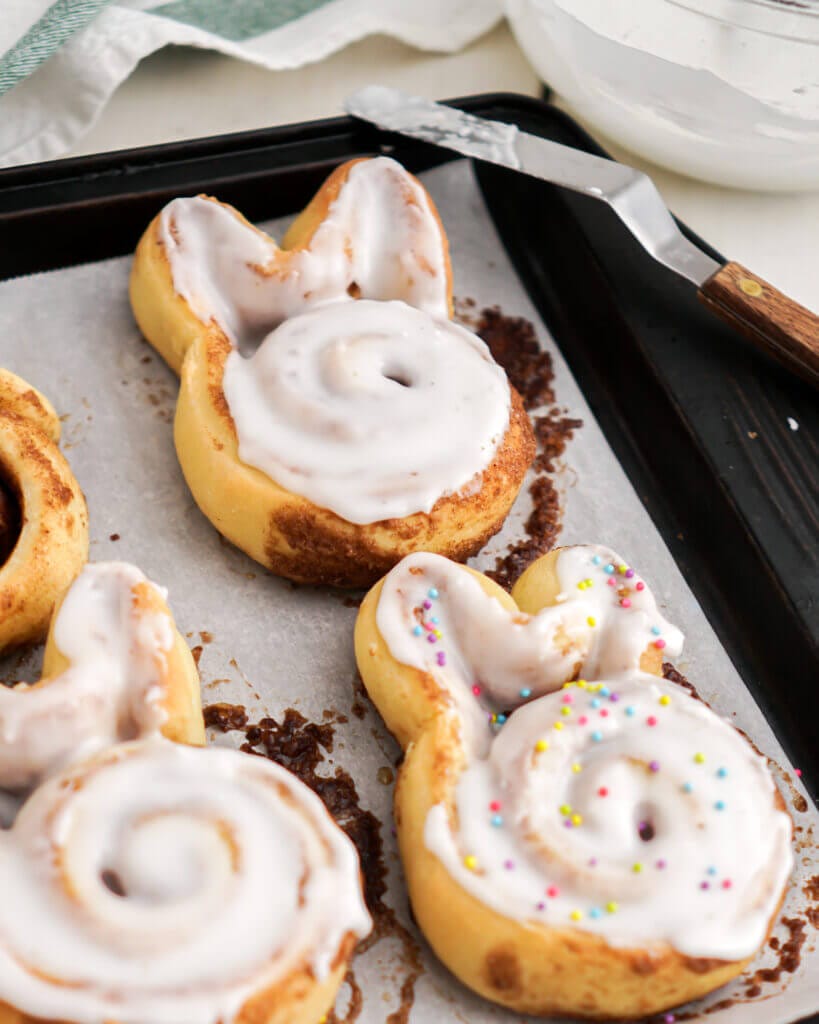
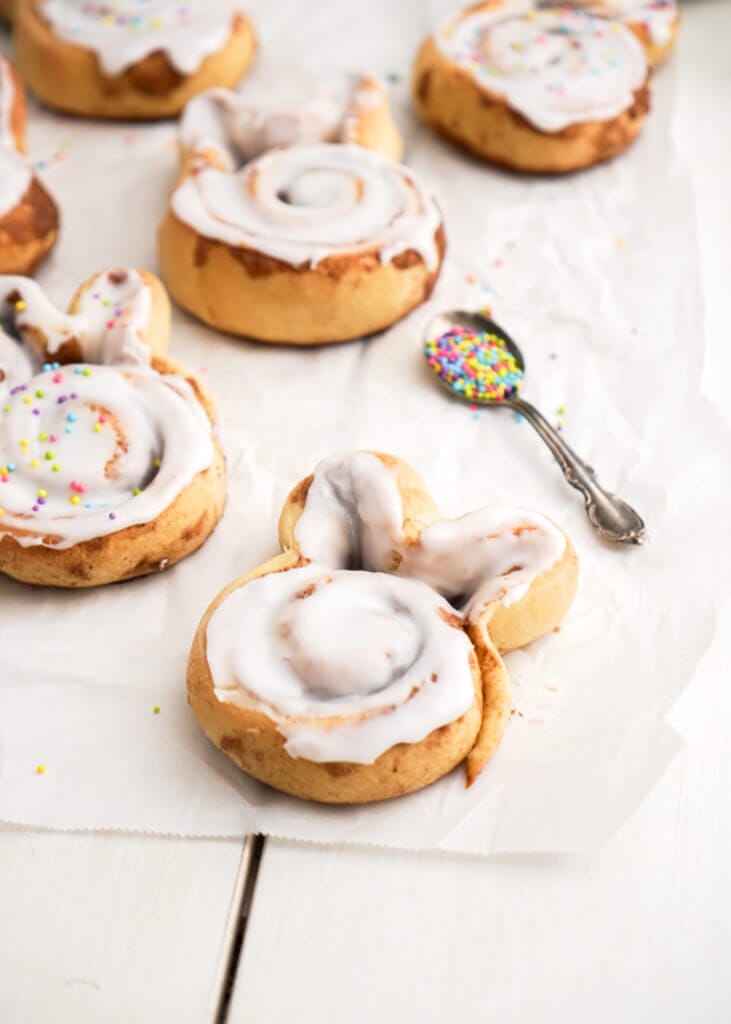
- Shape into bunnies. Take one roll and unravel the first layer of the roll. Pull the strip straight out (give a little tug to stretch the dough). Then using half of the strip create a loop for the first bunny ear, then create another loop for the other ear (see images above for a reference). Shape the loops to look like ears and press/pinch the loose ends down. Make sure to tightly squeeze/pinch the ears at the base so they don’t bake apart. Transfer the bunny to the prepared baking sheet and cover with plastic wrap. Repeat until all the rolls look like bunnies. Leave lots of space between the bunnies, you may need 2 baking sheets (bake one sheet at a time).
- Let the bunny rolls rest for 20-30 minutes. Meanwhile, preheat the oven to 350˚F.
- Bake for 12-15 minutes or until golden brown. Let the cinnamon roll bunnies cool on the baking sheet on a wire rack. Note: If the bunny ears separate from the roll while baking use toothpicks to attach them to the roll and let them cool with the toothpicks in them. Do this as soon as you remove them from the oven and the bunnies are still hot.
- Meanwhile, make your glaze. Add icing sugar, almond extract and 2 Tablespoons warm water to a medium-sized bowl. Using a spoon mix until smooth and well incorporated. If the glaze is too thick add 1/2 Tablespoon more warm water to reach your desired consistency.
- Once the bunnies are slightly cool, cover them with the glaze and add sprinkles (optional).
- Serve cinnamon roll bunnies the same day.
Notes
These cinnamon roll bunnies are best enjoyed the same day. Store leftovers in an airtight container at room temperature for 2-3 days or freeze for up to 1 month.
Nutrition
- Serving Size: 1
- Calories: 450
- Sugar: 30.8g
- Sodium: 4003mg
- Fat: 16.3g
- Saturated Fat: 9.3g
- Unsaturated Fat: 0
- Trans Fat: 0
- Carbohydrates: 70g
- Fiber: 8.9g
- Protein: 10.8g
- Cholesterol: 107mg
FAQ’s
Several factors can affect the rise of the dough, including the freshness of the yeast, the temperature of the water used to bloom the yeast, the kneading time, and the environment where the dough is left to rise. Make sure that your yeast is not expired, use warm water at 110°F for blooming the yeast. If the water is too hot it may kill the yeast and if it’s too cold it may not bloom at all. The dough needs to be kneaded properly and for a long enough time to create structure. Make sure to let the dough rise in a warm, draft-free environment. This may take longer than the recommended time in a recipe, just make sure its doubled in size before proceeding.
Overbaking can result in dry cinnamon roll bunnies. To prevent this, watch the bunnies closely towards the end of the baking time and remove them from the oven as soon as the bottoms start to turn golden brown. Cinnamon roll bunnies typically take less time to bake than cinnamon rolls as they are not squished together.
This blog post has been sponsored by Bulk Barn Canada where you can find all your baking needs! All opinions are my own and I’m so happy to work with brands I love so I can continue to share these recipes with all of you! I hope you guys get to a Bulk Barn soon and try out this recipe.





Leave a Rating and Comment!
I love hearing from you! Leave a comment with any questions or how your recipe turned out (your email address will not be published)!