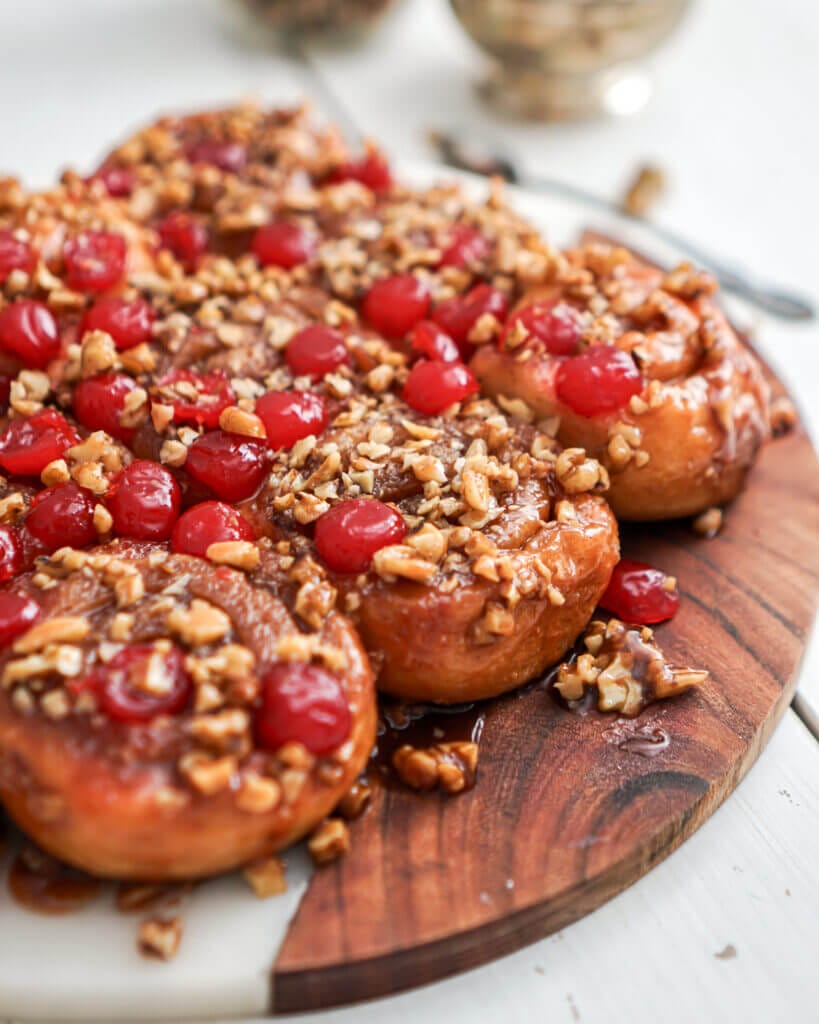
If you’re in the mood for a sweet treat that’s both comforting and indulgent, classic Chelsea buns are for you! They have a soft, buttery dough and a sticky, sweet filling with just a hint of spice. The maraschino cherries add extra sweetness and the walnuts give a nutty crunch all while covered in a sticky, sugary mess.
There are quite a few variations of Chelsea buns, but this version with cherries and walnuts is what I grew up with, and brings fond memories of family time spent at the cottage.
History of Chelsea Buns
The origin of Chelsea buns can be traced back to the 18th century when they were first created at the Bun House in Chelsea, London. These traditional British treats were made with enriched dough, filled with currants, spices, and sugar, and then rolled into spirals. They quickly gained popularity in Britain but over the years the traditional Chelsea buns have evolved and adapted to various styles.
Ingredients
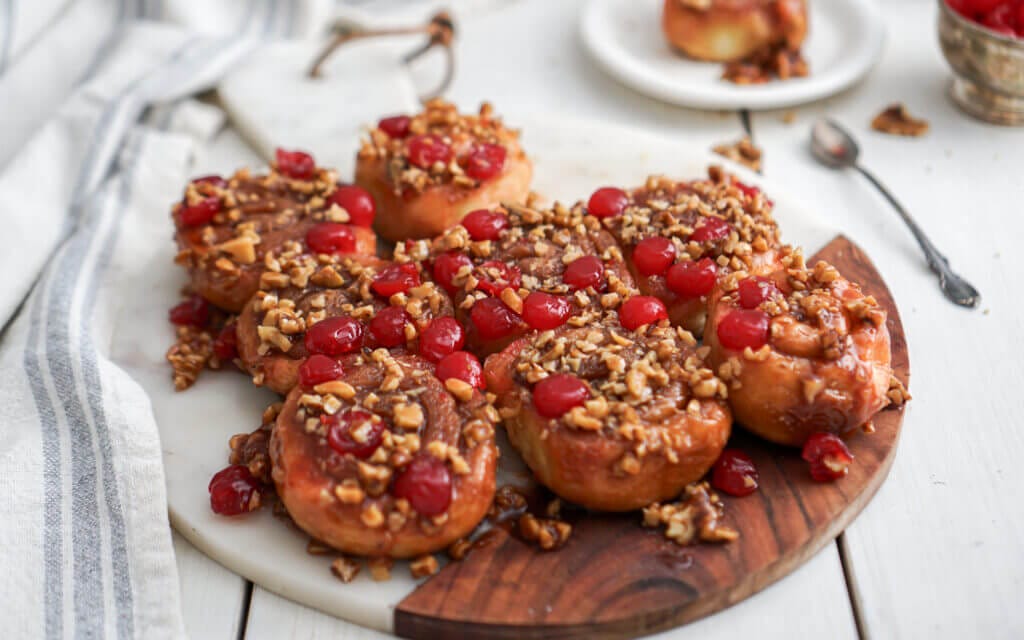
In this Chelsea bun recipe, it is the red maraschino cherries that give the distinct sweet flavour. They are similar to classic sticky buns, cinnamon buns (or cinnamon rolls) but the combination of dried fruit, cherries and nuts elevate these buns to their unique irresistible taste and style! You can shop for maraschino cherries at your local Bulk Barn store where you can buy as little or as much as you like.
- Active dry yeast
- All-purpose flour
- Warm water
- Granulated sugar
- Brown sugar
- Full milk
- Egg
- Unsalted butter
- Walnuts
- Red maraschino cherries
- Ground cinnamon
- Salt
Variations
This traditional British treat is also known to have dried fruit like currants or raisins rolled into the filling. Add 1/2 cup of your choice to the filling for a fruitier bite. Some Chelsea buns are similar to a cinnamon roll recipe with icing but I prefer extra sticky Chelsea buns to a version with icing. If you’d like you can omit the sticky bottom part (which becomes the top of the buns) and add icing instead.
Tips For The Perfect Homemade Chelsea Buns
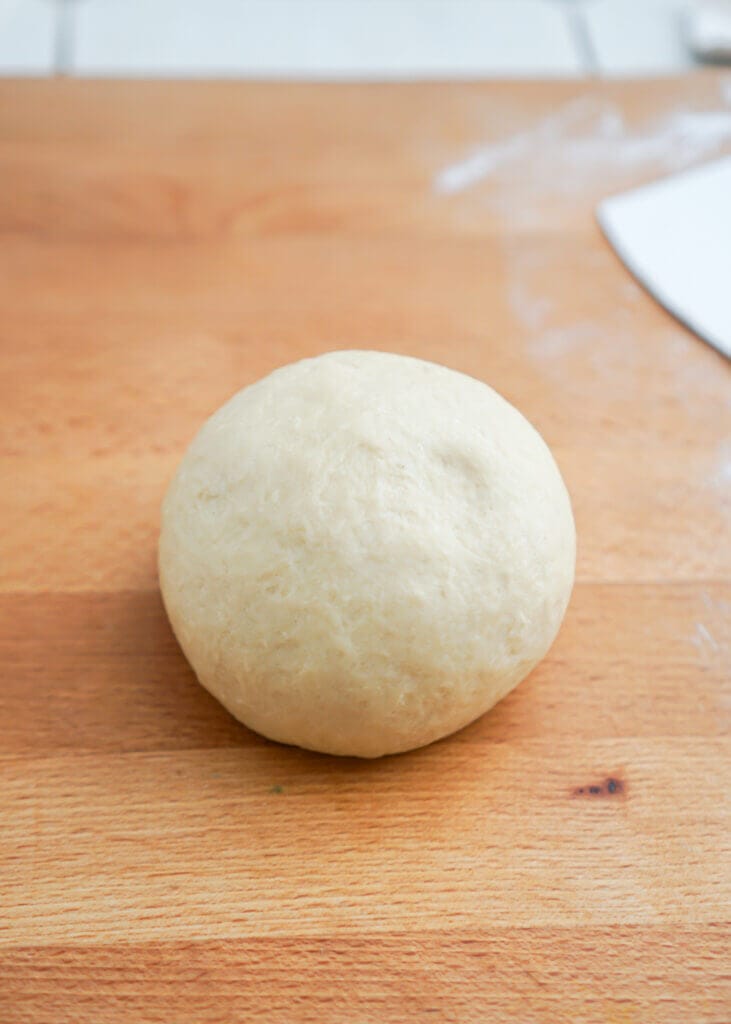
- Kneading for the correct amount of time is crucial for the proper rise and texture of the bread. This can take anywhere from 5-8 minutes or until the dough is smooth and elastic. To test if the dough has been kneaded long enough, poke the dough with your index finger. If the dough bounces back but still leaves a slight indentation then it is ready.
- Be careful when adding extra flour; too much flour will cause dense bread. You want the dough to be slightly sticky but not sticking to you.
- You can also use a Kitchen Aid mixer with the dough hook attachment to knead the dough. Be careful not to overmix the dough.
- Avoid proofing dough in metal bowls.
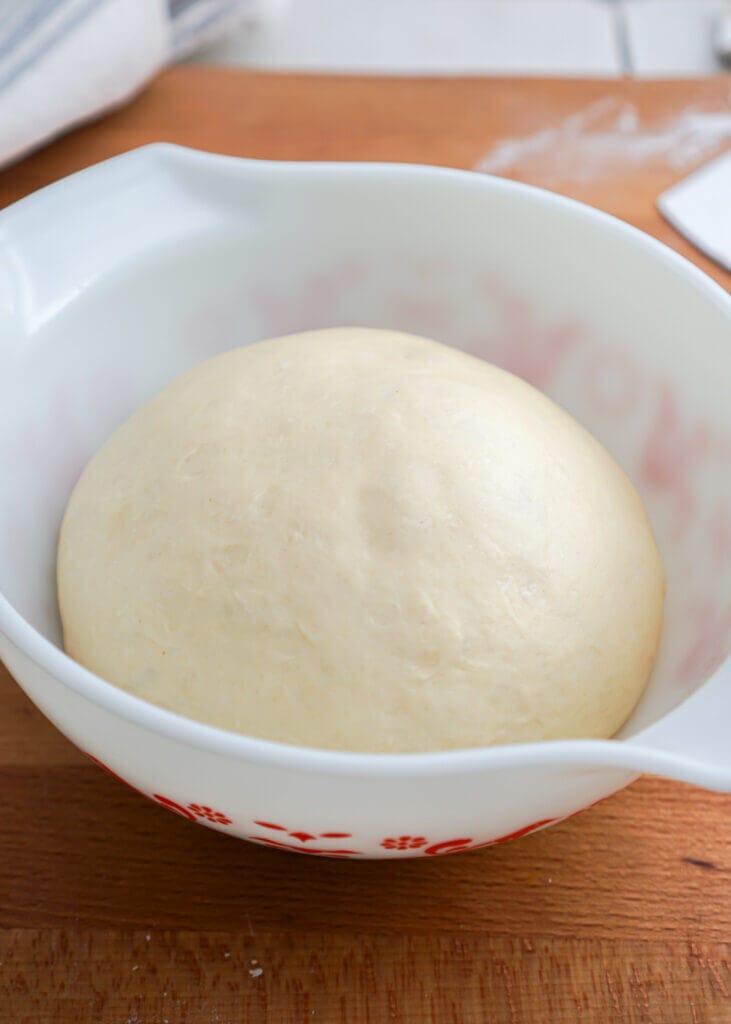
- Allow the dough to rise in a warm, draft-free place. You want the dough to double in size before working it again. This can take approx. one hour or even up to two hours as not all kitchen temperatures are the same so keep an eye on the dough, not just the time.
- Always keep your dough covered so it doesn’t dry out or create a skin on it. Use a clean tea towel, plastic wrap or I like to use a clean shower cap.
- When rolling the dough into a log, make sure it’s tight and even. This helps keep the filling in place and will create well-defined spirals in the buns.
- When cutting the log into individual buns use a sharp knife, serrated knife or dental floss for clean, even slices.
- Leave some space between the buns on the baking tray to allow for expansion during baking. This ensures that they rise upward rather than outward.
How To Make Chelsea Buns Ahead of Time
To have fresh hot out of the oven buns for the morning, prep the buns the night before. Simply place the buns in the refrigerator after the second rise (after step 10). In the morning take the unbaked buns out of the fridge and preheat the oven while the buns come back to temperature. Bake as directed.
How to Make the Best Chelsea Buns
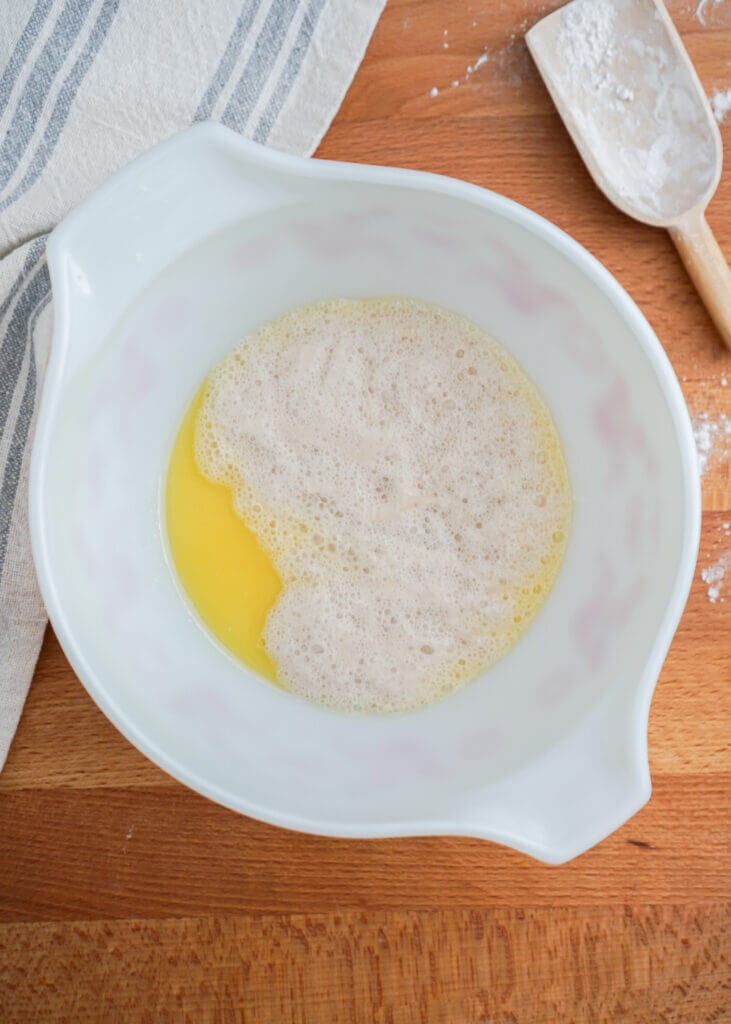
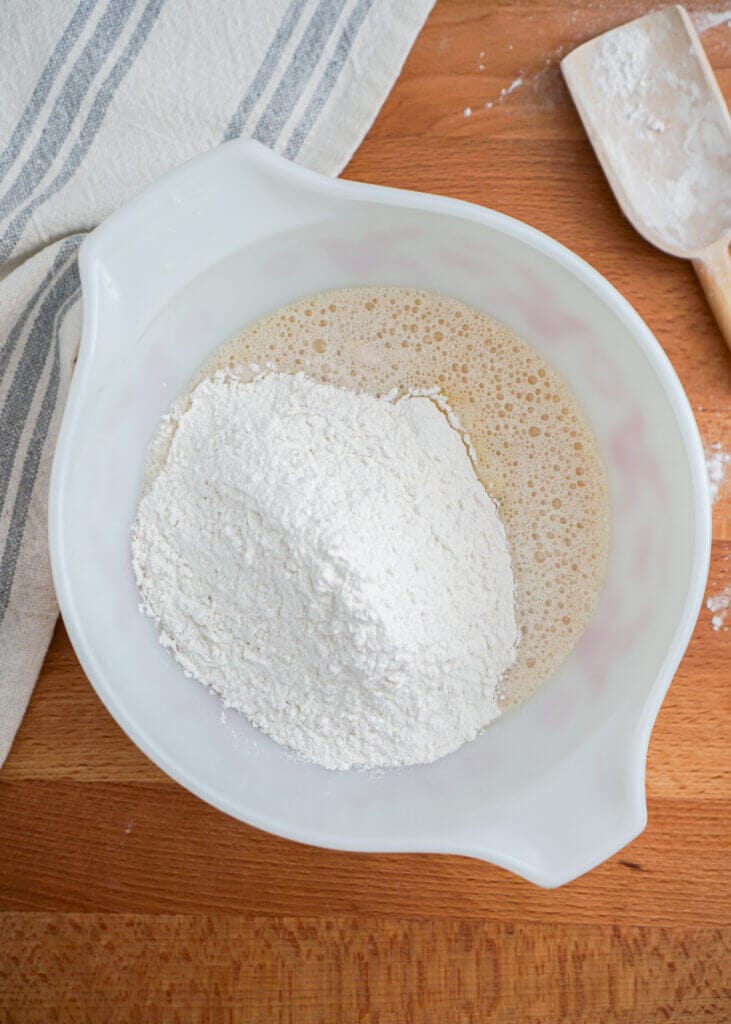
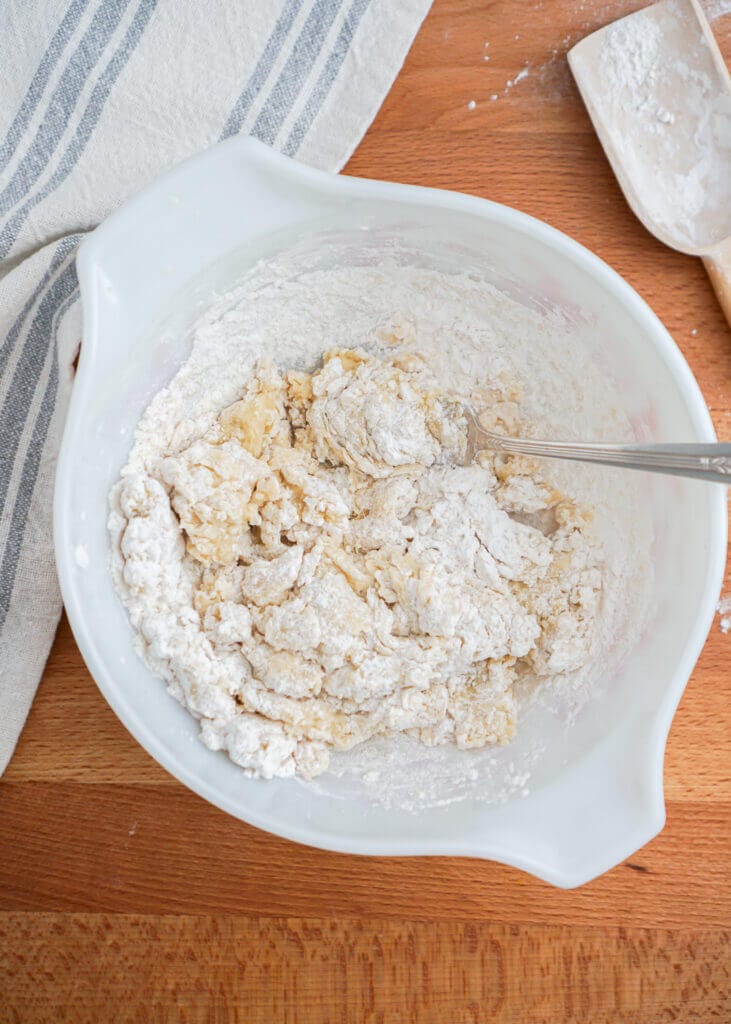
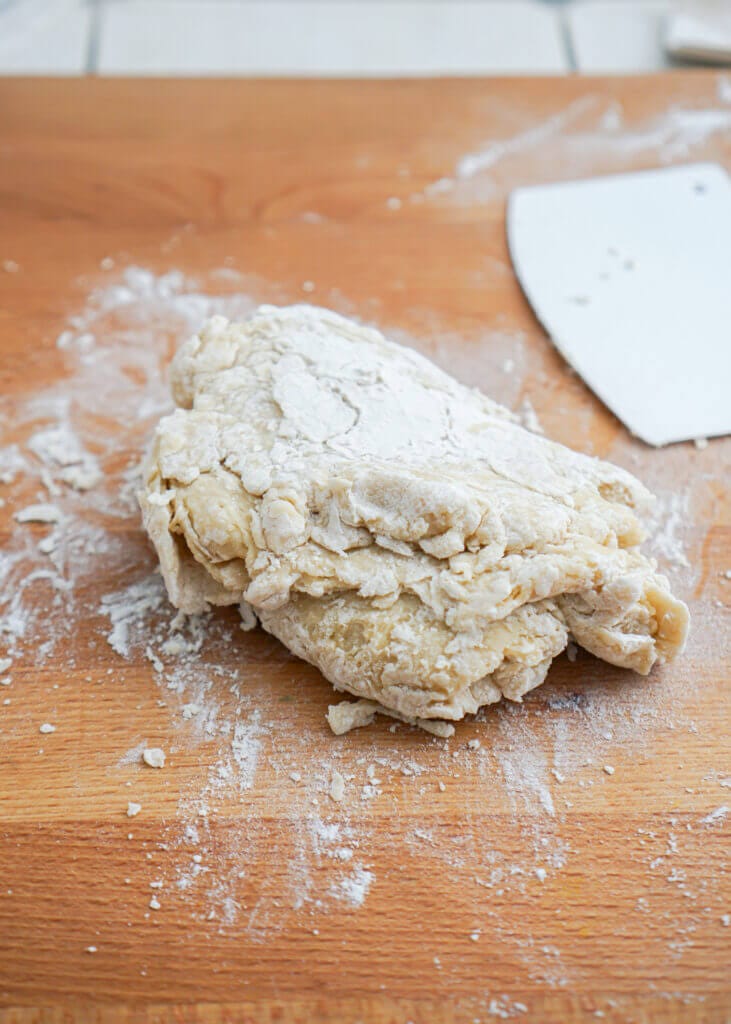
Step One: Bloom yeast in a small bowl for approx. 5-10 minutes until the yeast has dissolved and is frothy. Meanwhile, scald milk in a small saucepan. Then in a large mixing bowl mix wet ingredients with yeast. Add dry ingredients and bring dough together until ragged.
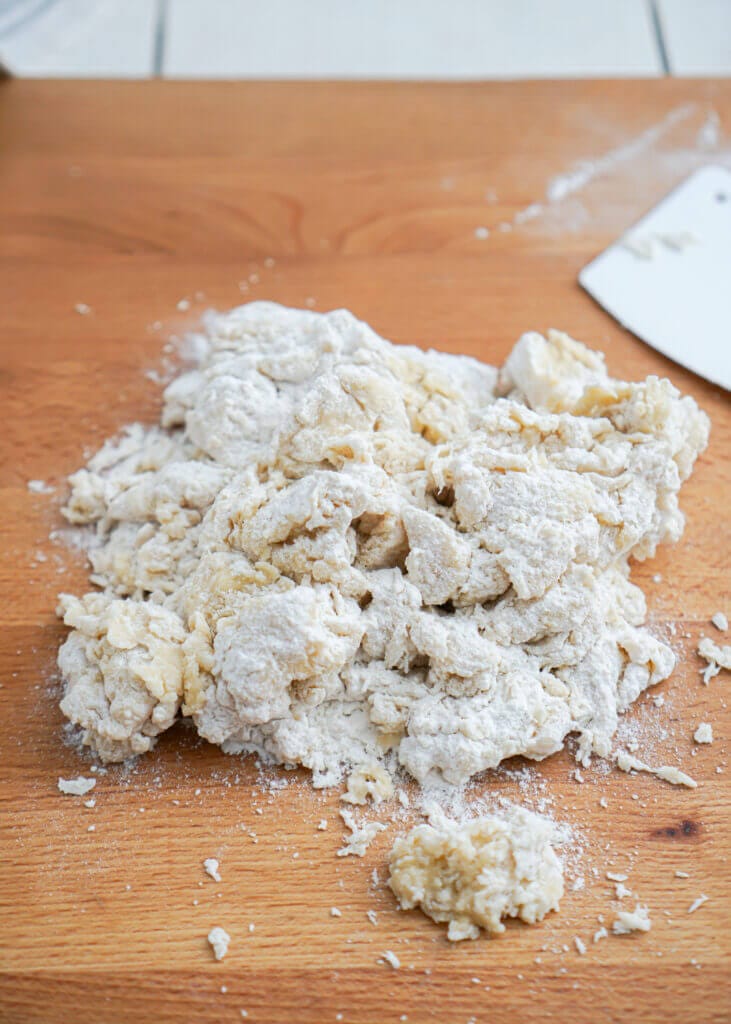
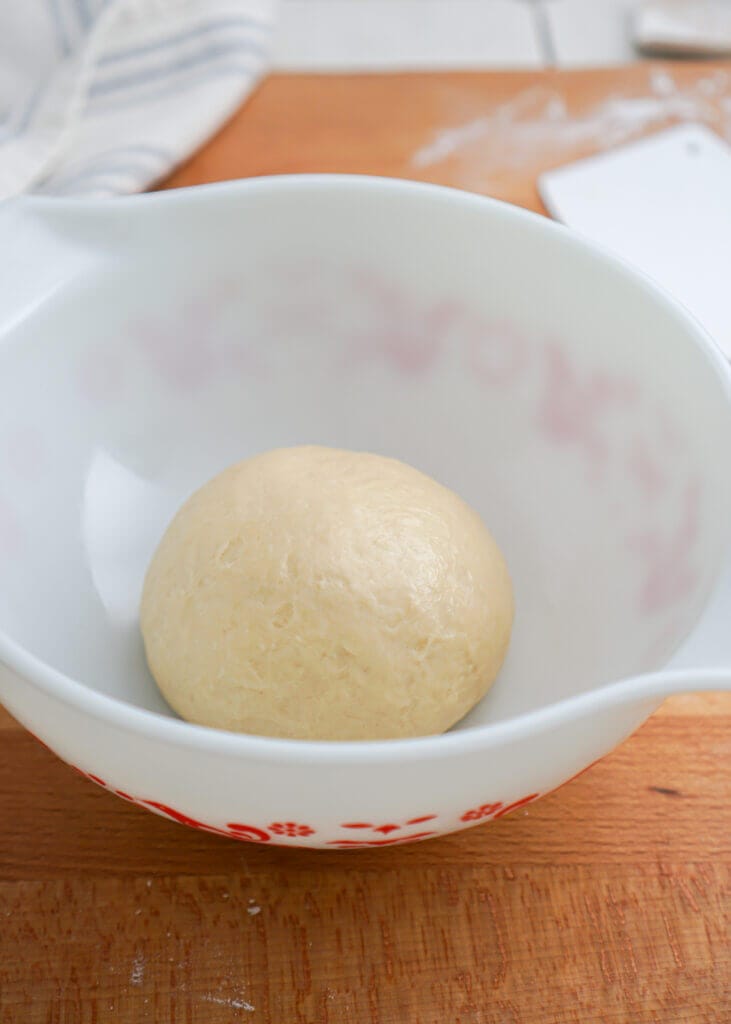
Step Two: Bring the dough together and knead on a lightly floured work surface for approx. 8 minutes until smooth and elastic and when poked the dough bounces back. Place the dough in a lightly greased bowl, cover with plastic wrap and let rise in a warm draft free spot until doubled in size, approx. 1 to 2 hours.
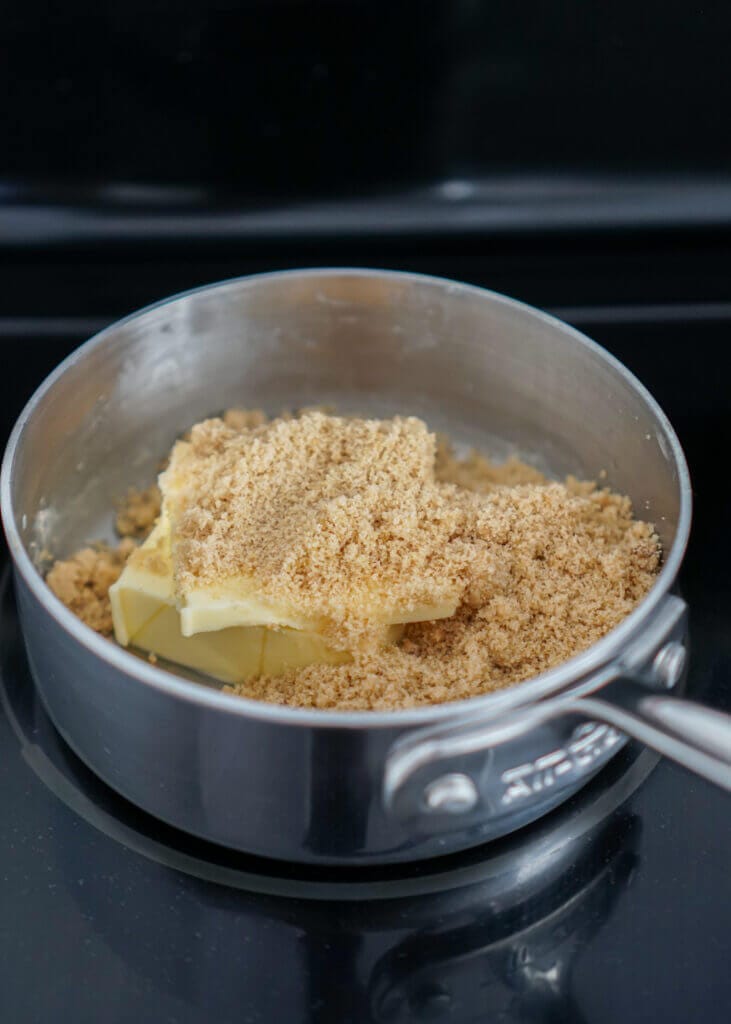
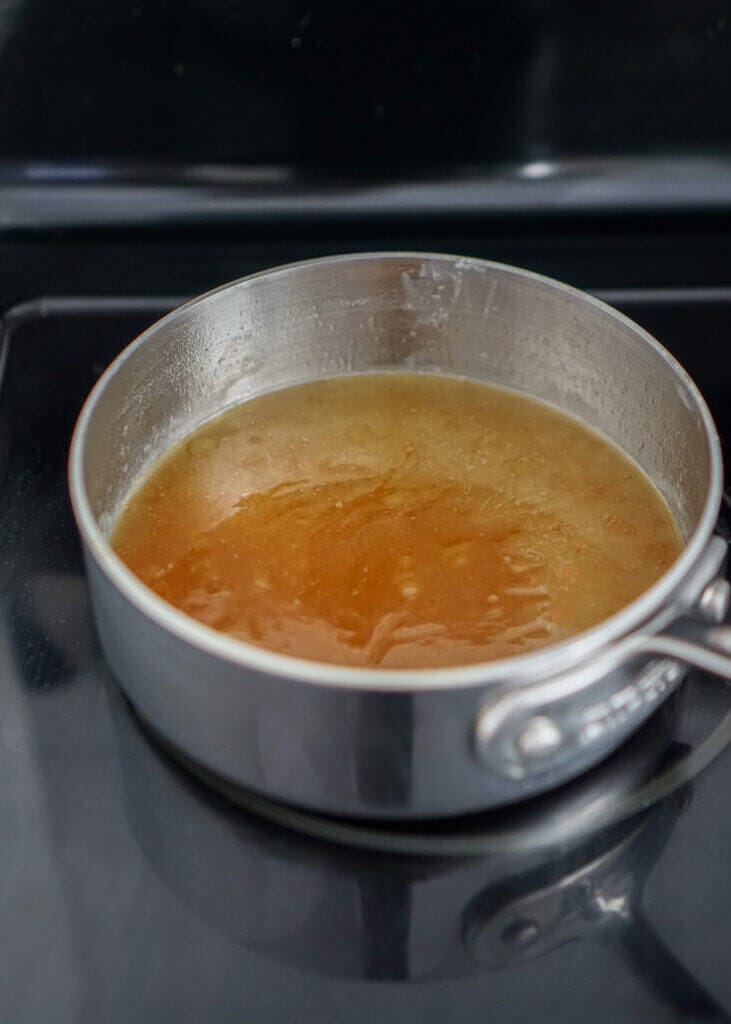
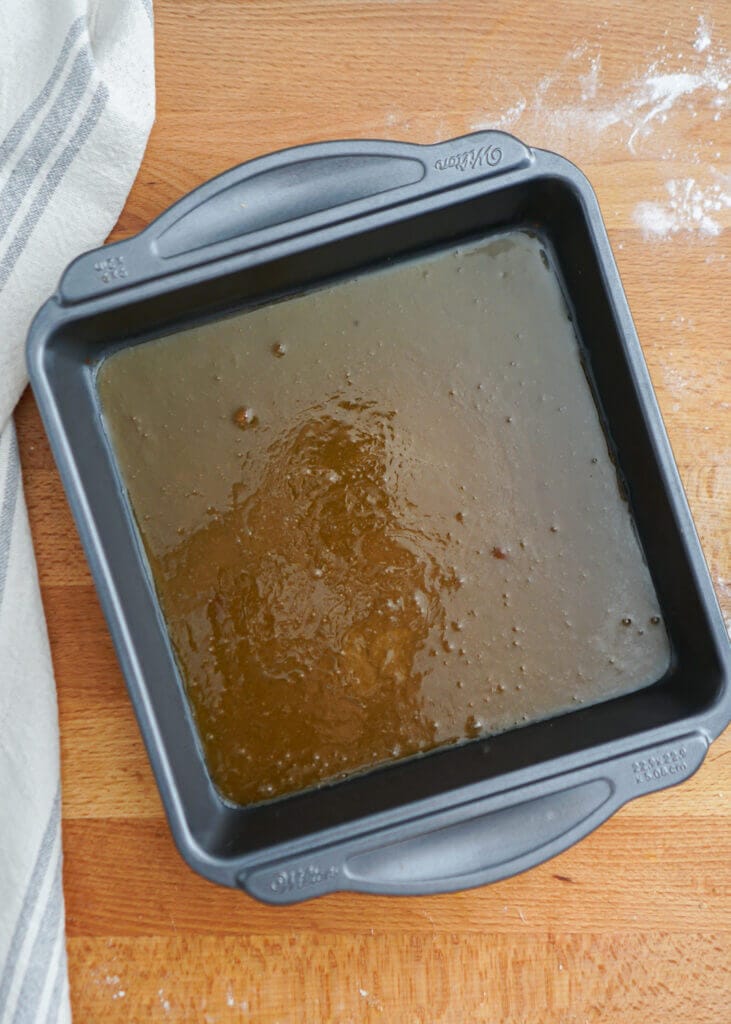
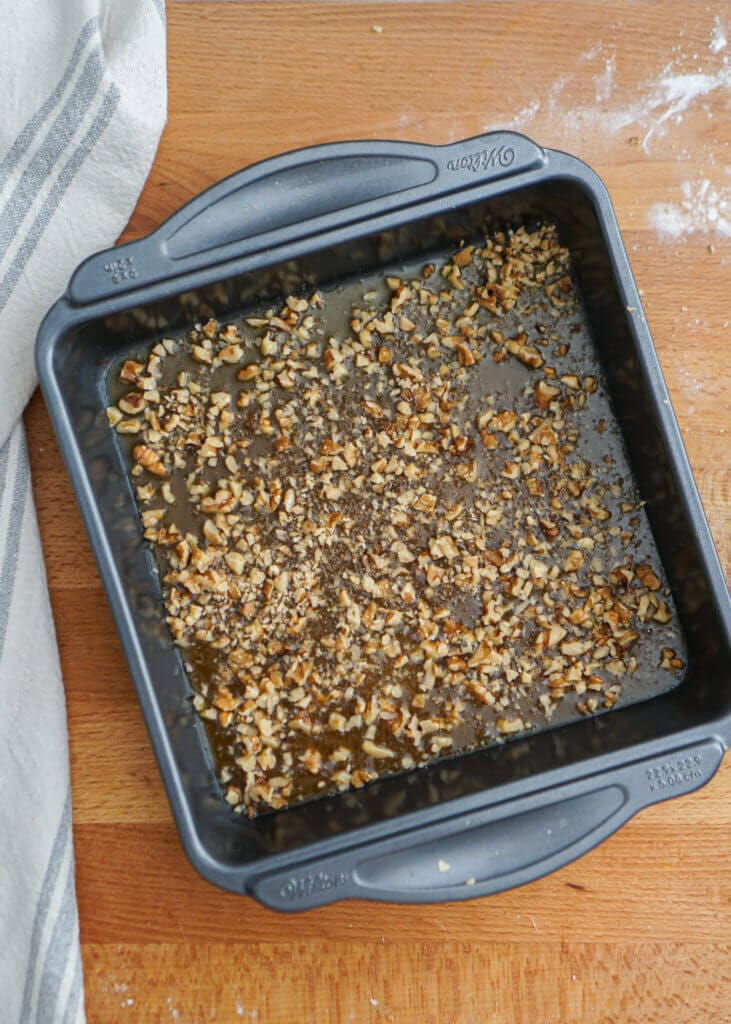
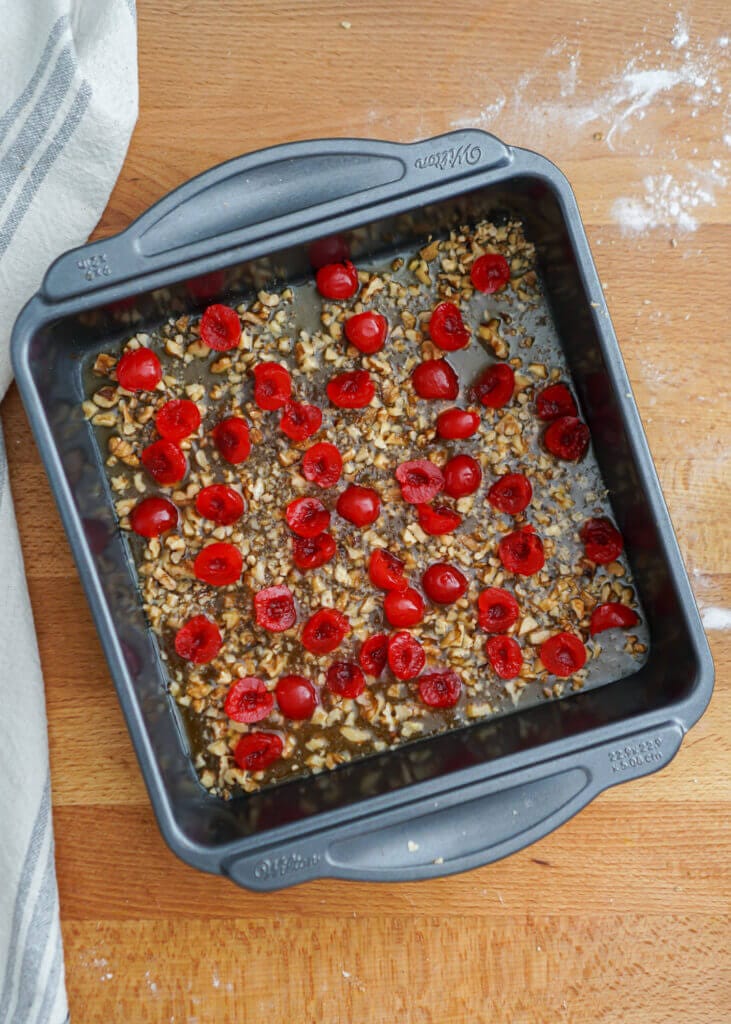
Step Three: Meanwhile, make your filling. In a saucepan on low to medium heat melt brown sugar and butter together, stirring to mix together. Pour into a baking dish and sprinkle chopped walnuts and maraschino cherries over the top. Set aside.
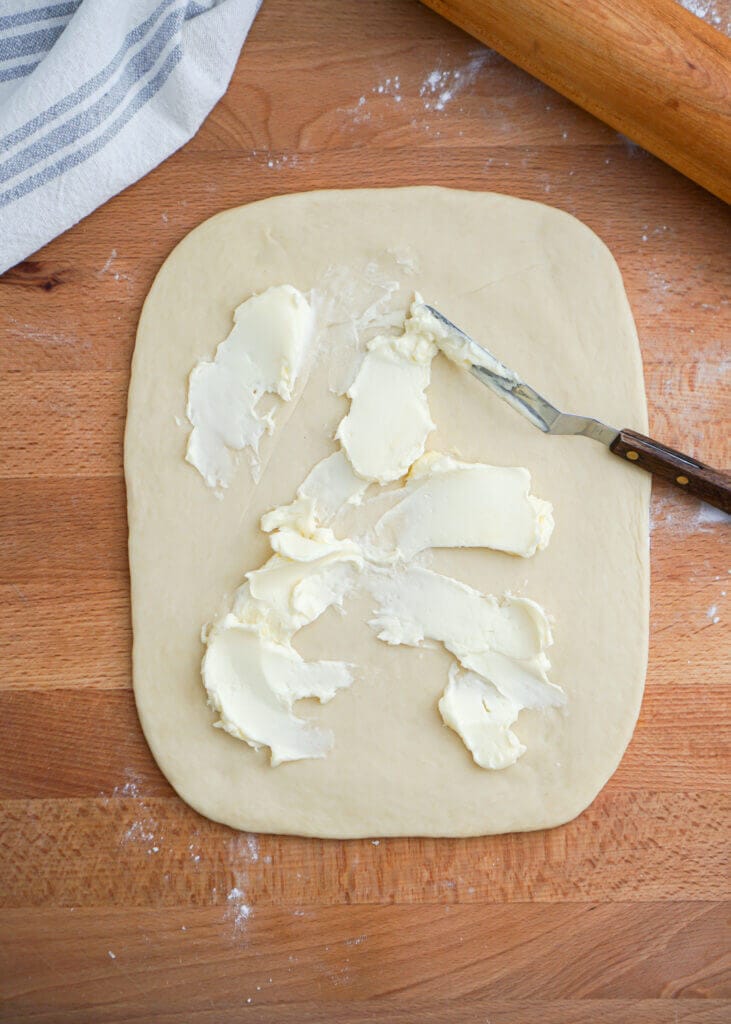
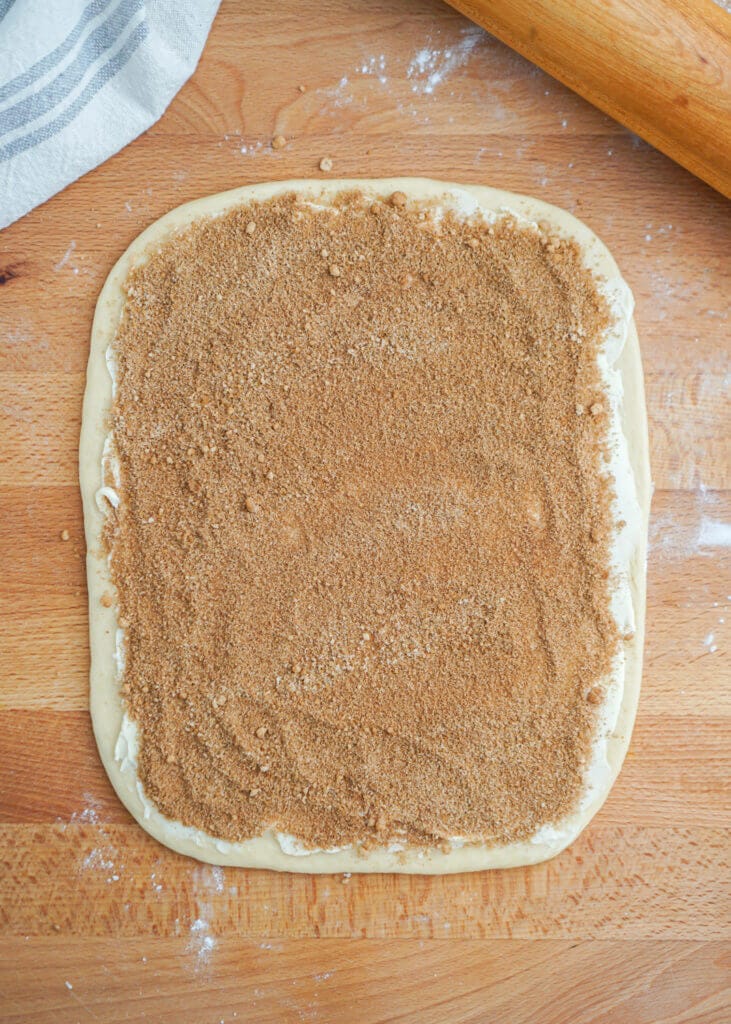
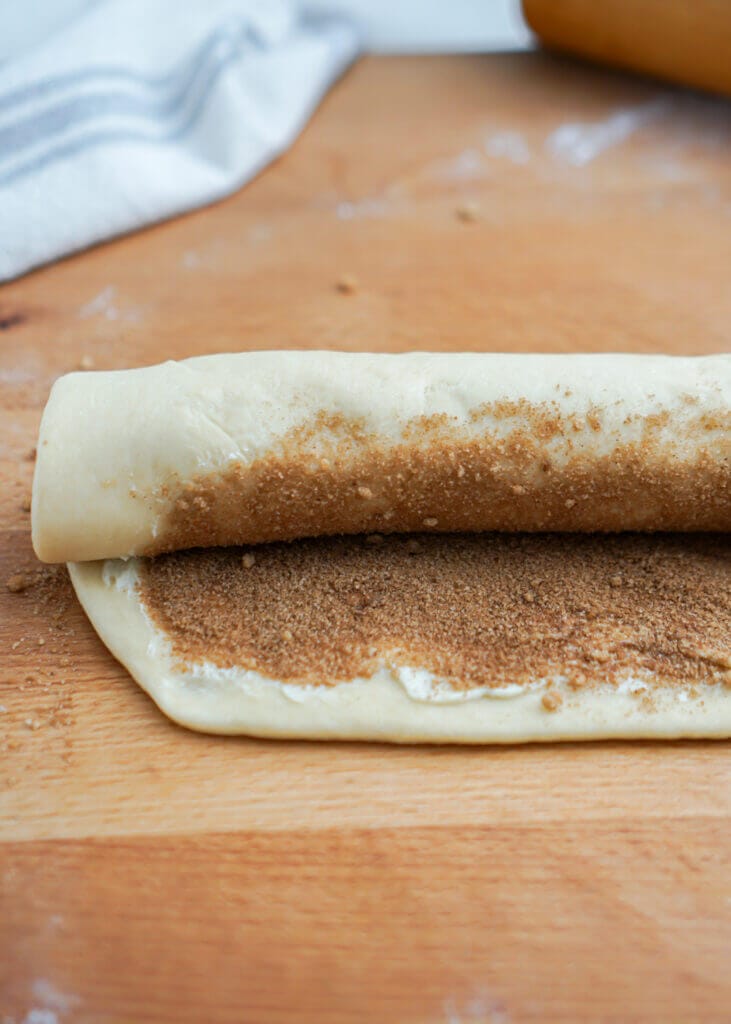
Step Four: When the dough has doubled in size, punch down. Using a rolling pin, roll out into a 9″ x 12″ rectangle. Spread the butter all over the dough and add the brown sugar cinnamon mix, pressing into the butter. Beginning at the shorter end (9-inch side), roll up the dough tightly and pinch the edges together to seal. Using a sharp knife, cut into 1″ thick slices, 9 slices in total.
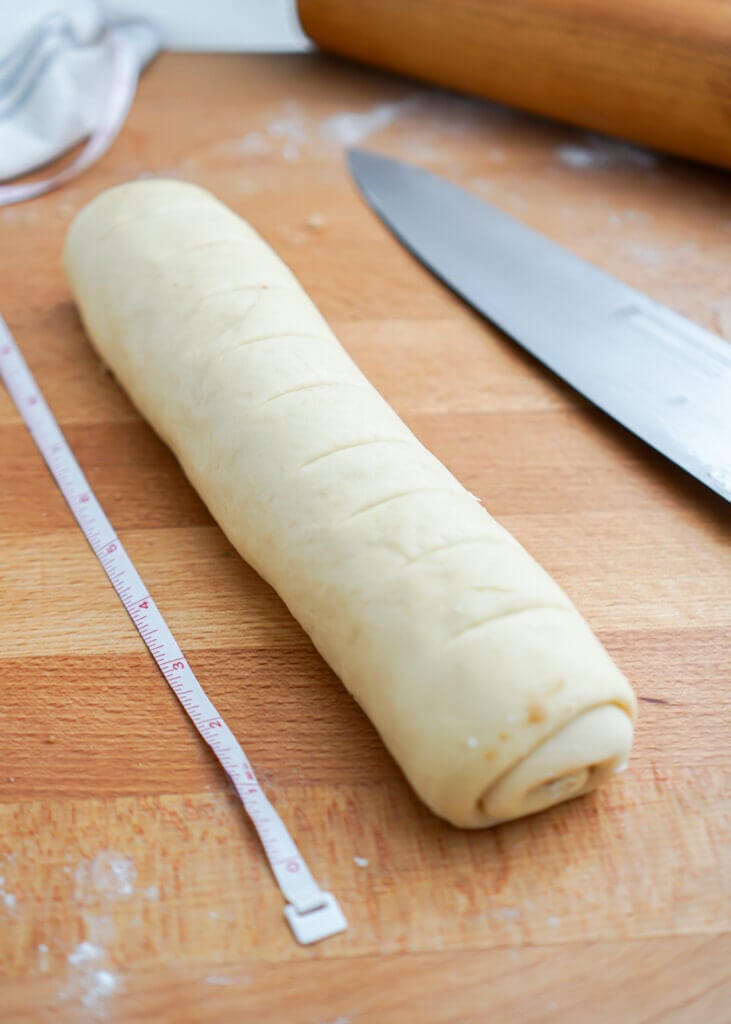
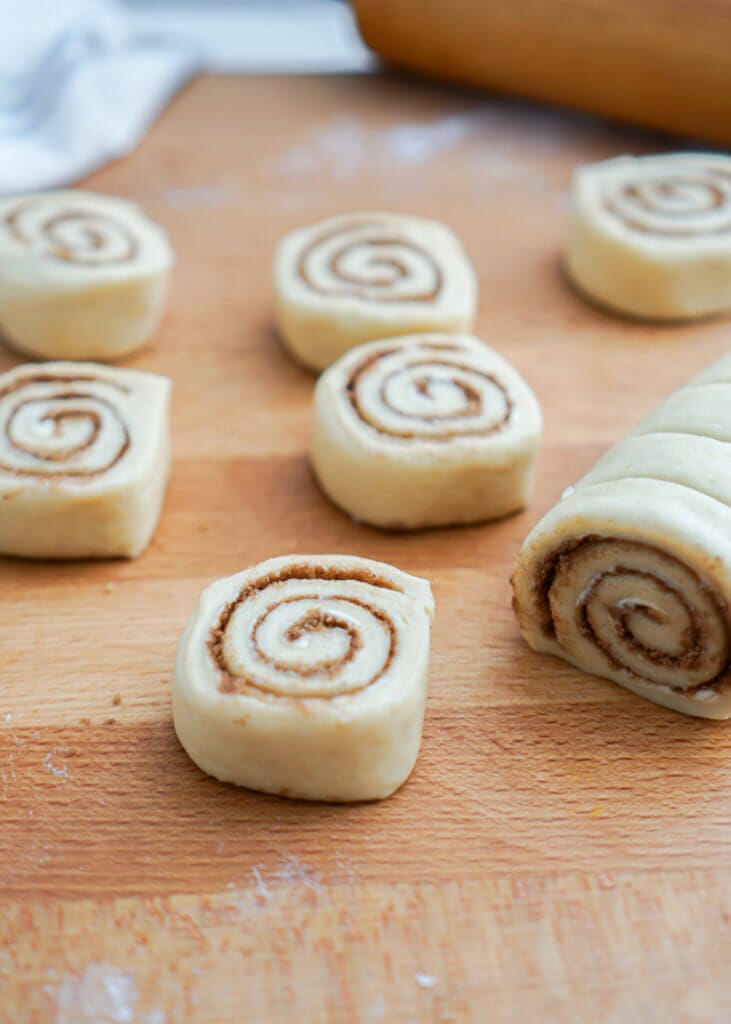
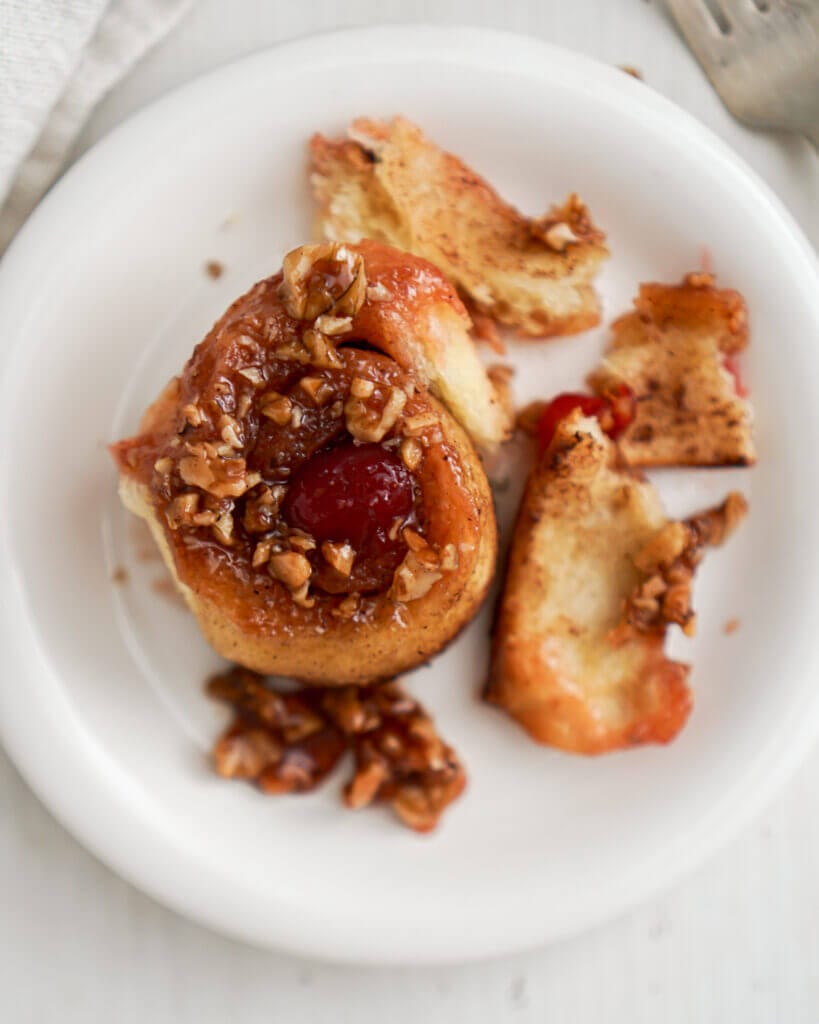
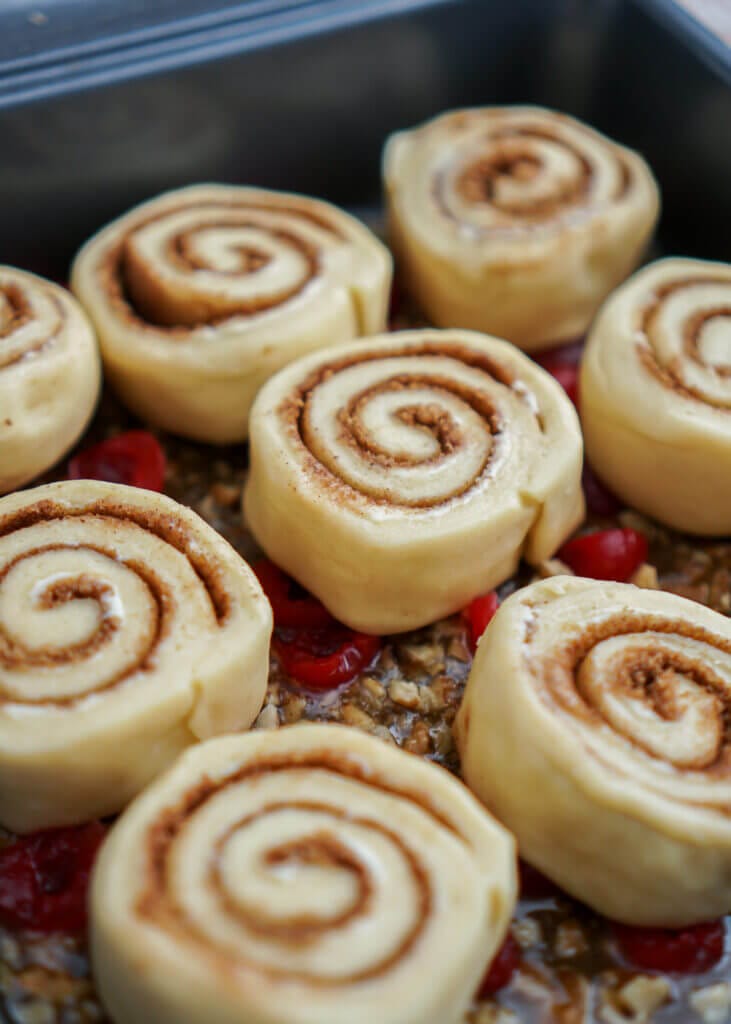
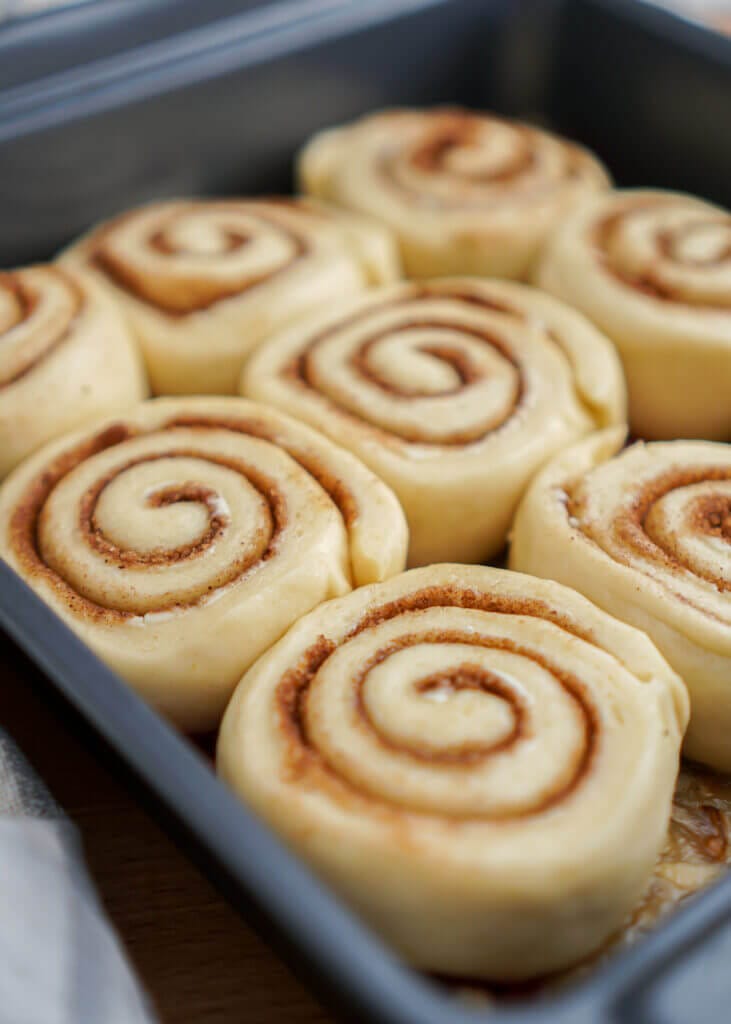
Step Five: Place the slices in your prepared baking dish on top of the butter mixture, nuts, and cherries. Cover and let buns rise for 30-45 minutes or until doubled in size. Bake in the center of the oven for 20-25 minutes or until golden brown and when tapped it sounds hollow. Let sticky buns rest on a wire rack in the dish for approx. 3 minutes. Carefully invert onto a serving platter, scraping off any remaining filling in the dish to drizzle over the buns.
Sticky Chelsea Buns
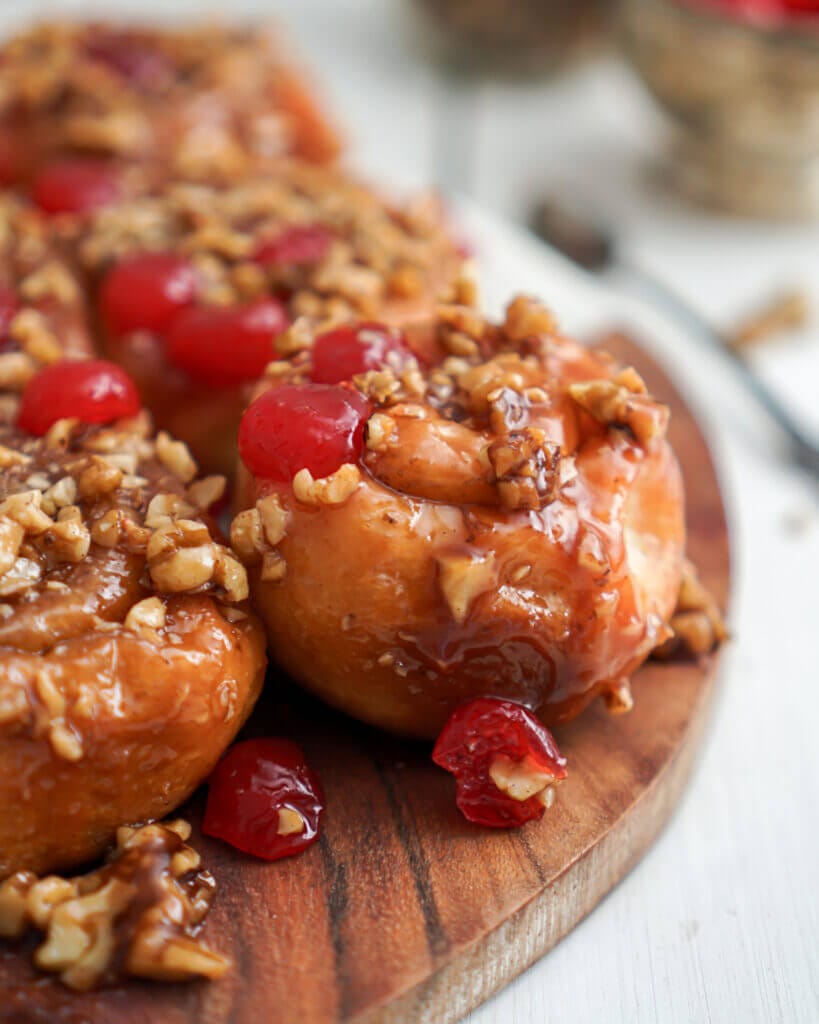
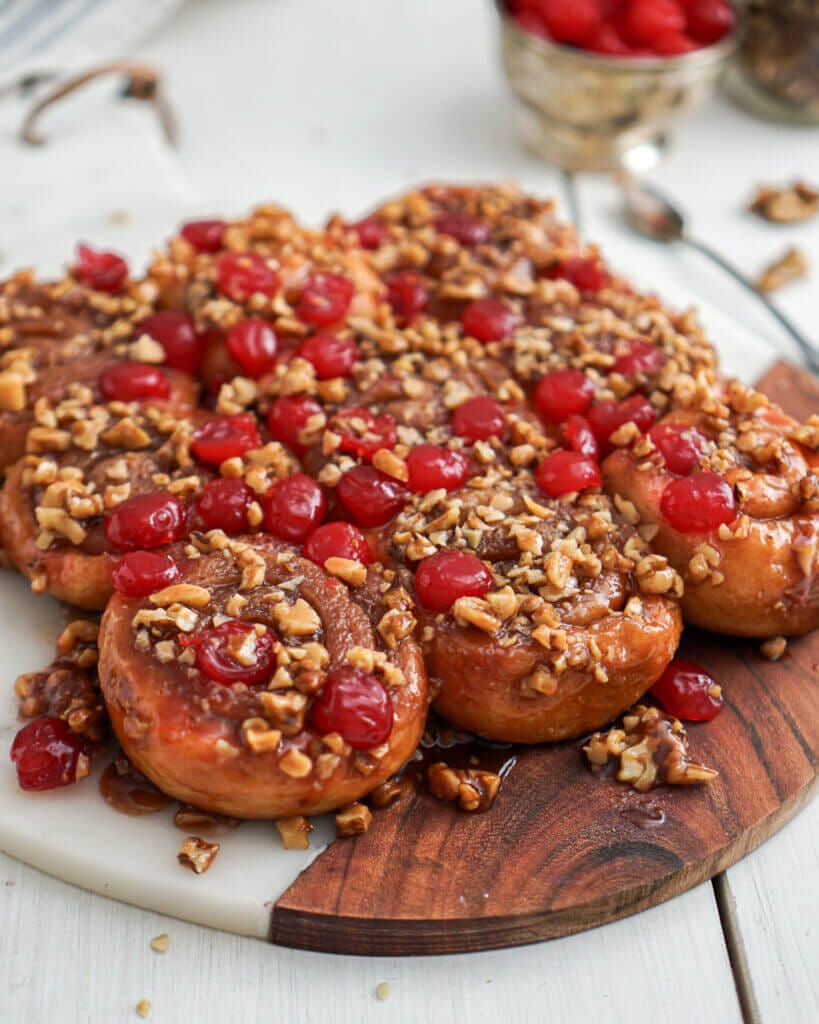
These Chelsea buns are extra sticky, gooey and topped with walnuts and sweet maraschino cherries. The buns are soft and buttery with hints of cinnamon throughout. They are the perfect treat for cottage weekends, brunch parties and holidays. The recipe can be prepped ahead too!
- Prep Time: 2.5 hours
- Cook Time: 20 minutes
- Total Time: 2.75 hours
- Yield: 9 Buns 1x
- Category: Bread & Yeast Dough
- Method: Baking
- Cuisine: British
Ingredients
Dough
- 2 teaspoons active dry yeast
- 1/4 cup warm water
- 2 Tablespoons granulated sugar, plus 1 teaspoon (divided)
- 1/4 cup full milk, scalded
- 3 Tablespoons unsalted butter, melted
- 1 large egg
- 1 1/2 cups all-purpose flour, approx., may need more
- 1/2 teaspoon salt
Bottom Filling
- 1/2 cup brown sugar, lightly packed
- 1/2 cup unsalted butter
- 1/2 cup walnuts, coarsely chopped
- 1/3 cup red maraschino cherries, cut in half
Middle Filling
- 1/3 cup unsalted butter, at room temperature
- 1/4 cup brown sugar, lightly packed
- 1 1/2 teaspoons ground cinnamon
Instructions
- Make your dough. In a small bowl add active dry yeast, warm water and 1 teaspoon of the sugar. Let rest for approx. 5-10 minutes until yeast has dissolved and is frothy.
- Meanwhile, scald milk. In a pot bring milk just to a boil while stirring and then cool down to 110˚F.
- In a large bowl mix scalded milk, the rest of the sugar, melted butter and egg together (make sure your milk and butter have come down in temperature before adding to the milk mixture or your egg will become scrambled).
- Once yeast is frothy add to milk mixture and stir together.
- Add flour and salt to milk mixture. Using a fork bring the dough together until ragged (add more flour as needed, just a little at a time). Bring the dough together and knead on a work surface for approx. 8 minutes until smooth and elastic and when poked the dough bounces back (alternatively, you can use your stand mixer with the dough hook).
- Place the dough in a well-greased large bowl, cover with plastic wrap and let rise in a warm draft free spot until doubled in size, approx. 1 to 2 hours.
- Meanwhile, make your filling. In a saucepan on medium to low heat melt brown sugar and butter together, stirring to mix together. Pour into a 9″x 9″ (or 8″x 8″) baking dish and sprinkle chopped walnuts and maraschino cherries over the top. Set aside.
- Assemble. When the dough has doubled in size, punch down. Roll out on your work surface into a 9″ x 12″ rectangle. Spread the butter all over the dough. Mix the brown sugar and cinnamon together and sprinkle over the buttered dough and press into the butter.
- Beginning at the shorter end (9-inch side), roll up the dough tightly and pinch the edges together to seal. Using a sharp knife, cut into 1″ thick slices, 9 slices in total. Place the slices in your prepared baking dish on top of the butter mixture, nuts, and cherries.
- Cover with plastic wrap and let buns rise for 30-45 minutes or until doubled in size.
- Meanwhile, preheat the oven to 375˚F. Remove plastic wrap and bake in the center of the oven for 20-25 minutes or until browned and when tapped it sounds hollow.
- Let sticky buns rest on a wire rack in the dish for approx. 3 minutes. Carefully invert onto a serving platter, scraping off any remaining filling in the dish to drizzle over the buns.
- Serve warm.
Notes
Chelsea buns are best enjoyed the same day. Store any leftover chelsea buns in an airtight container for 1-2 days. Reheat buns in the oven at 350˚F for approx. 8 minutes until warm.
Make Ahead. To have fresh hot out of the oven buns for the morning, prep the buns the night before. Simply place the buns in the refrigerator after the second rise (after step 10). In the morning take the unbaked buns out of the fridge and preheat the oven while the buns come back to temperature. Bake as directed.
Nutrition
- Serving Size: 1
- Calories: 429
- Sugar: 16.8g
- Sodium: 330mg
- Fat: 31.3g
- Saturated Fat: 17.1g
- Unsaturated Fat: 0
- Trans Fat: 0
- Carbohydrates: 34.1g
- Fiber: 1.6g
- Protein: 5.4g
- Cholesterol: 91mg
FAQ’s
Yes, you can substitute bread flour for all-purpose flour at a 1:1 ratio. Bread flour has a higher protein content compared to all-purpose flour, which will result in a stable, higher rise and chewier texture in the finished buns. Keep in mind that the higher protein content in bread flour may require a bit more liquid to achieve the same dough consistency. Start with the amount of liquid mentioned in your recipe and adjust if needed.
To reheat baked Chelsea buns preheat the oven to 350˚F. Add a few extra knobs of butter to the pan and cover with foil. Bake the buns until warm and soft in the middle, approx. 10-15 minutes.
Some common reasons why your Chelsea buns might have turned out dense are; adding too much flour to the dough, under kneading or not giving the dough enough time to proof (rise) properly. Another reason could be incorrect yeast activation. If the yeast isn’t activated properly, it won’t produce enough gas to make the dough rise causing dense bread.
This blog post has been sponsored by Bulk Barn Canada where you can find all your baking needs! All opinions are my own and I’m so happy to work with brands I love so I can continue to share these recipes with all of you! I hope you guys get to a Bulk Barn soon and try out this recipe.







Leave a Rating and Comment!
I love hearing from you! Leave a comment with any questions or how your recipe turned out (your email address will not be published)!